NOEL BUTTON
pinshape
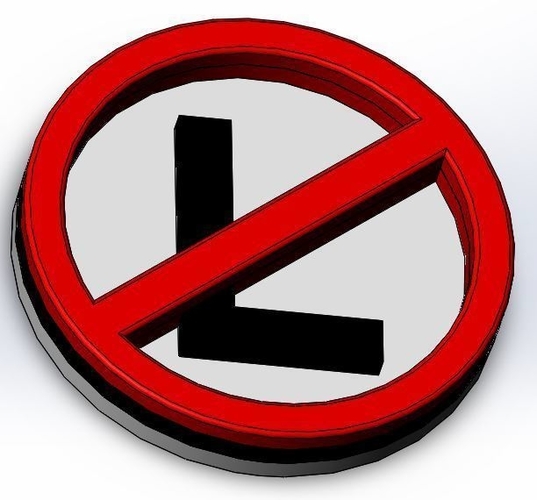
These STL files are used to 3D print a NOEL medallion, button or refrigerator magnet that turns heads everywhere you go. The object can be printed in three separate pieces (bottom=white, middle=black, top=red) and glued together with testors plastic glue for a seamless finish. The bottom part should be printed white, the middle part should be printed black, and the top part should be printed red for maximum visual impact. There are two bottom STL files available; one with a rectangular hole in which to glue a magnet and one without the hole. The medallion can also be printed in one piece using three processes and changing the filament color between processes to create a stunning effect. 3D printed full scale, the medallion measures 2 inches in diameter and 0.3 inches high. Each layer is 0.1 inch (2.5mm) in height, making it a true showstopper. I created three processes in Simplify 3D; one process to print each layer with precision. The first process I named NOEL_BOTTOM_WHITE and it's set to print from 0mm height to 2.5mm height for a solid foundation. The second process is named NOEL_MIDDLE_BLACK and it's set to print from 2.5mm height to 5mm height for the middle layer. The third process is named NOEL_TOP_RED and it's set to print from 5mm up to completion, adding the finishing touches in style. Using the STL file "NOEL_ALL_THREE," you'll load and prime white filament and run process NOEL_BOTTOM_WHITE first. When complete, move the print head off from the part so the head doesn't melt the part. Be sure to reset the extruder temperature so it doesn't cool down between layers. Next, change the filament to black and prime it, then run process NOEL_MIDDLE_BLACK, which will begin printing the black second layer at a height of 2.5mm and complete it at 5mm height. When complete, move the print head off from the part so the head doesn't melt the part again. Reset the extruder temperature once more to prevent cooling down between layers. Finally, change the filament to red and prime it, then run the final process NOEL_TOP_RED, which will begin printing the red layer at a height of 5mm and continue to completion for a breathtaking finish. Everywhere I wear this button, people always ask me what it means, and virtually nobody gets it on the first glance - it's just too fun!
With this file you will be able to print NOEL BUTTON with your 3D printer. Click on the button and save the file on your computer to work, edit or customize your design. You can also find more 3D designs for printers on NOEL BUTTON.