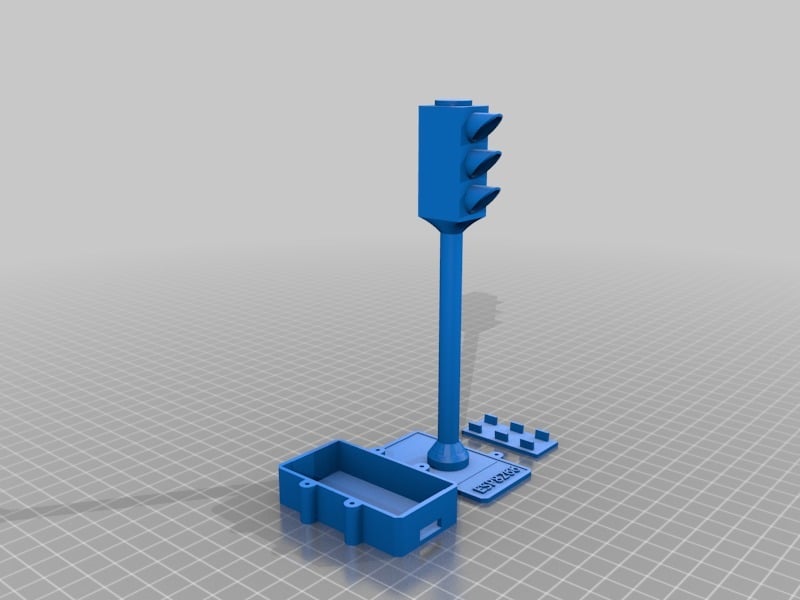
Nodemcu ESP8266 Traffic Light
thingiverse
This project takes the original ESP8266 IoT Traffic Light and expands it to accommodate the larger NodeMCU v3 development board. To get started, follow these steps: First, you'll need to download the necessary software for your computer or mobile device. This includes the Arduino IDE and the ESP8266 board package. Once installed, connect your NodeMCU v3 to your computer using a USB cable and ensure that it is recognized by your system. Next, open the Arduino IDE and create a new project by selecting "File" > "New Project". Give your project a name and select the correct board from the dropdown menu. Then, upload the original ESP8266 IoT Traffic Light code to your NodeMCU v3 using the "Upload" button in the top-left corner of the Arduino IDE window.
With this file you will be able to print Nodemcu ESP8266 Traffic Light with your 3D printer. Click on the button and save the file on your computer to work, edit or customize your design. You can also find more 3D designs for printers on Nodemcu ESP8266 Traffic Light.