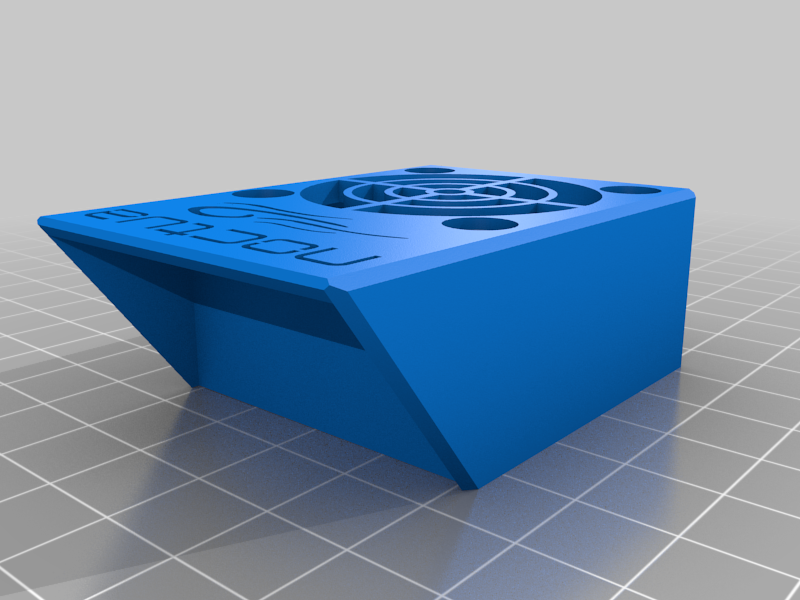
Noctua HotEnd Fan Cover/Shroud (Creality CR-10S Pro V2 )
thingiverse
Noctua NF-A4x20 Fan Mount and Shroud for Creality CR-10S Pro V2 Custom Cover to Conceal Noctua's Beige Fan Custom Fan Shroud Boosts Airflow on OEM Hotend ------------------------------------------------------------------------------------------------------------------------------------------------------------------------------------------------------------------------------------------------ Basic Instructions (Ask if You Need Help) You'll need to make some modifications to the hotend metal housing and perform basic wiring. **1 - Remove the OEM 40x10mm Loud Creality Hotend Fan by Cutting Fan Wires Close to the Fan. ** *SEE PICTURE #1* **2 - Rewire Your CR10s Pro V2 with Provided Scotchlock and Adaptor from Noctua** *SEE PICTURE #2* **3 - Remove/Break 4 Threaded Pins Mounting OEM Fan (Long Nose Pliers Will Do the Job)** *SEE PICTURE #3-0, 3-1, 3-2* **4 - Remove Center OEM Metal Fan Grill with Cutters** *SEE PICTURE #4* **5 - Install Noctua Fan and Shroud with 4x Fan Screws** *SEE PICTURE #5-0, 5-1, 5-2, 5-3* **6 - Reinstall Metal Housing Over Hotend. Install Custom Fan Cover with 4x Additional Fan Screws** *SEE PICTURE #6-0, 6-1* **7 - Not Done Yet ... You Can Use a LM2596 to Lower Input Voltage from 24v to 12v for Reduced Fan Noise** This is the housing I'm using and it's perfect. https://www.thingiverse.com/thing:3372894
With this file you will be able to print Noctua HotEnd Fan Cover/Shroud (Creality CR-10S Pro V2 ) with your 3D printer. Click on the button and save the file on your computer to work, edit or customize your design. You can also find more 3D designs for printers on Noctua HotEnd Fan Cover/Shroud (Creality CR-10S Pro V2 ).
