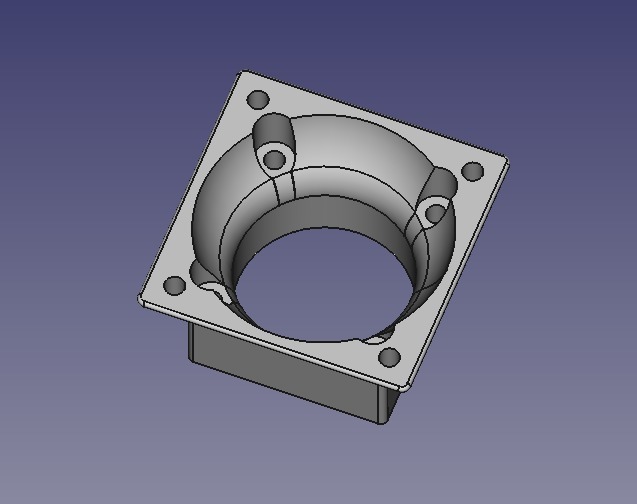
NOCTUA 40 adapter duct for E3D radiator cooler
thingiverse
Installing a Noctua 40mm fan on an E3D radiator duct is a relatively straightforward process that requires some basic tools and attention to detail. The first step is to prepare the fan by removing any protective covering from its blades and screws. Next, locate the mounting points on the E3D radiator duct where the fan will be attached. These are typically marked with small holes or notches. Using a screwdriver, remove the existing screws holding the top grille of the radiator in place. Carefully lift off the top grille to expose the mounting points for the new fan. Take the Noctua 40mm fan and align it with the mounting points on the E3D radiator duct. Insert the screws provided with the fan into the mounting points, making sure they are securely tightened. With the fan in place, replace the top grille by reversing the steps used to remove it. Make sure all screws are tightened firmly to prevent any vibrations or noise from affecting system performance. Once installed, plug in the fan and test its functionality to ensure proper airflow through the E3D radiator duct.
With this file you will be able to print NOCTUA 40 adapter duct for E3D radiator cooler with your 3D printer. Click on the button and save the file on your computer to work, edit or customize your design. You can also find more 3D designs for printers on NOCTUA 40 adapter duct for E3D radiator cooler .
