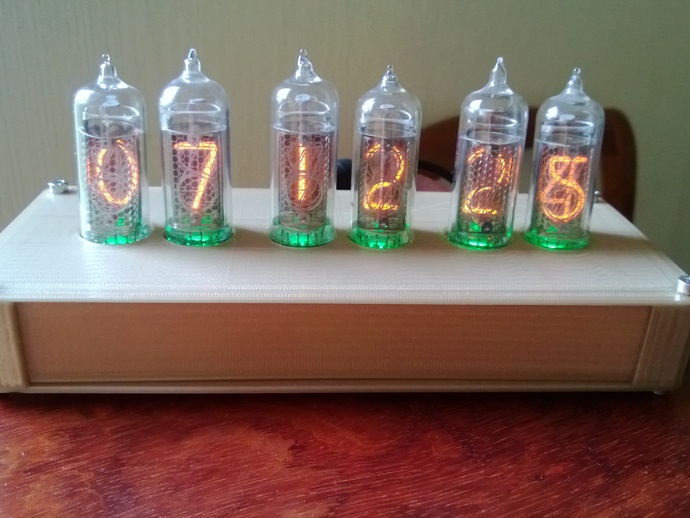
Nixie clock
thingiverse
Nixie Tube Clock Assembly Instructions: The components needed for this project are a Nixie QTC clock from www.pvelectronics.co.uk, six IN-14 nixie tubes, and various screws, nuts, and washers. Start by mounting the inserts on pieces 102 and 106. Next, attach the control board to piece 105 using four CLS, four HM3 nuts, and four Z3 washers. Then, assemble pieces 2 x 10², 1 x 10⁶, and 109 in order. Mount the final piece 106 and add two 107 and one 108 component. Finally, secure ten components with four CHC M3-10 screws. Follow these steps to complete your nixie tube clock assembly.
With this file you will be able to print Nixie clock with your 3D printer. Click on the button and save the file on your computer to work, edit or customize your design. You can also find more 3D designs for printers on Nixie clock.
