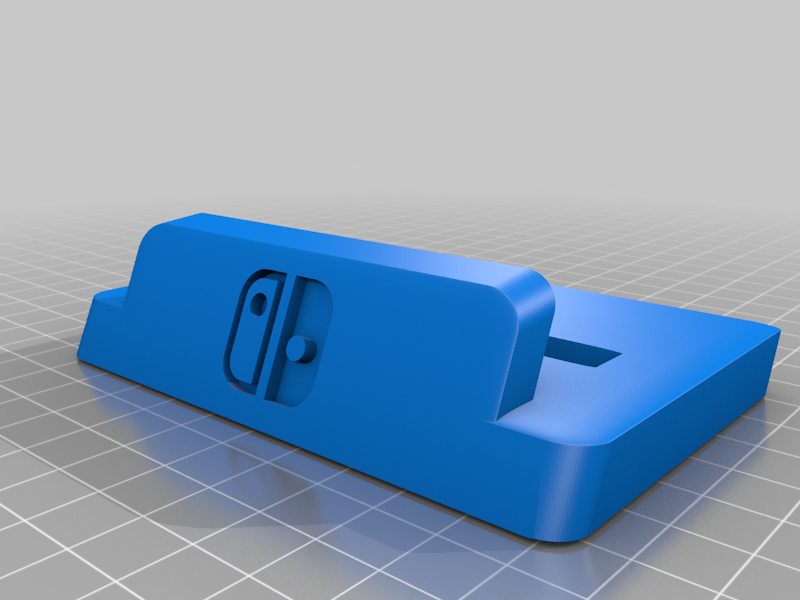
Nintendo Switch Stand
thingiverse
Create a Multicolor Nintendo Switch Stand in Three Parts To build an eye-catching stand for your Nintendo Switch console, print the design in three separate sections. This will allow you to create a colorful and unique display that showcases your gaming system in style. Section One: The Base Print the base of the stand on a sturdy material like cardboard or plastic. Make sure it's large enough to support the weight of your Switch console. You can add some decorative elements, such as a Nintendo logo or a pattern of colorful lines, to give it a personalized touch. Section Two: The Side Panels Print the side panels of the stand using a different color and design than the base. These panels will add depth and visual interest to your stand. Consider printing them with a gradient effect or a fun pattern that matches your gaming personality. Section Three: The Top Panel Print the top panel of the stand on a contrasting color to create a striking visual effect. This is where you can showcase your creativity and print any design elements that reflect your gaming style, such as a favorite character or logo. Assemble all three parts together using glue, tape, or another adhesive method. Make sure they're securely attached to each other and the console will be stable on the stand. With this multicolor stand, you'll have a one-of-a-kind display for your Nintendo Switch that's sure to impress your friends and fellow gamers.
With this file you will be able to print Nintendo Switch Stand with your 3D printer. Click on the button and save the file on your computer to work, edit or customize your design. You can also find more 3D designs for printers on Nintendo Switch Stand.
