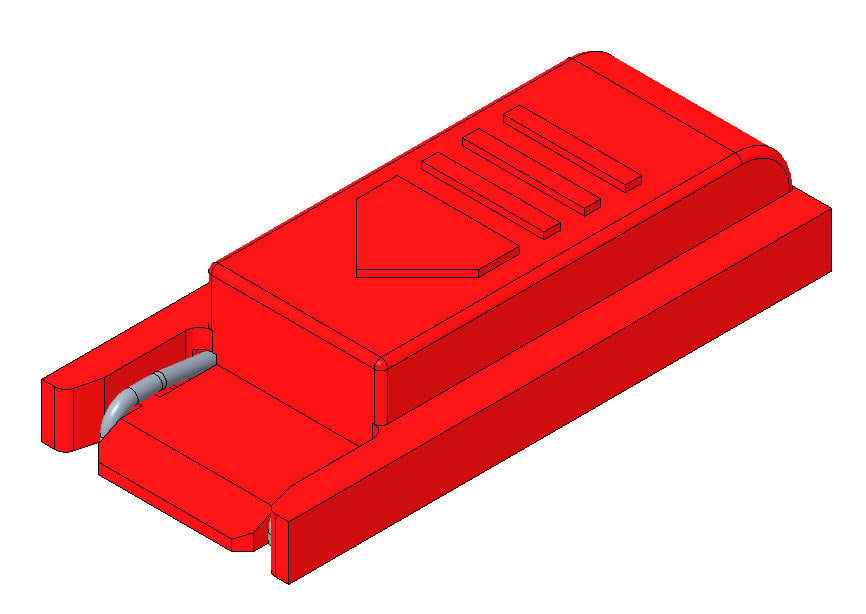
Nintendo Switch RCM Jig
thingiverse
This is another printable RCM jig. What sets this file apart from other designs? 1) Installing the wire is a breeze and requires no special jigs, as the part itself serves as the jig. 2) The wire used in this design comes from twist ties, making it readily available and free. 3) This wire is compliant and less likely to damage switch connectors due to its gentle, smooth edges that slide over contact points without causing harm. 4) The wire is fully supported by 3D printed plastic material, ensuring it won't deform or lose contact over time. 5) By angling the wire's ends downwards, sharp edges are avoided, preventing damage to connector traces on switches and keeping the wire in place as you insert it into the connector. 6) STEP files have been provided for others to improve upon this design. Print with the thinnest layer possible. I use 0.100 mm layer height, which should make printing a straightforward process despite small overhangs in certain areas. For the wire, aim for a diameter of around 0.40mm to 0.50mm. Twist ties used for vegetables or grocery bags are an easy source – simply strip off any paper or plastic insulation, clean and sand the wire with fine grit sandpaper if needed, then proceed with assembly. 1) Strip the wire's insulation. 2) Clean the wire thoroughly using a fine grit sandpaper to ensure it's shiny and free of debris. 3) Insert one end of the wire into one hole and push it through until it reaches the front of the jig, angling it down near the tip. 4) Push the other end of the wire through the opposite hole. 5) Use pliers to yank the wire snugly against the back of the jig without any slack. 6) Bend the wire downwards. 7) Trim the ends of the wires flush with the bottom surface using a sharp diagonal cutter or nail clipper, ensuring they don't protrude. 8) You can bend up the tips of the wires' ends slightly to improve contact and prevent them from extending past the bottom surface. 9) Double-check that the center of the wire is about 6.20 mm apart from each other using a caliper. Update: I've added an alternative version for Cat-5 cable copper wire, which has a diameter closer to 0.50mm. The holes in this version are slightly larger to accommodate the thicker wire.
With this file you will be able to print Nintendo Switch RCM Jig with your 3D printer. Click on the button and save the file on your computer to work, edit or customize your design. You can also find more 3D designs for printers on Nintendo Switch RCM Jig.