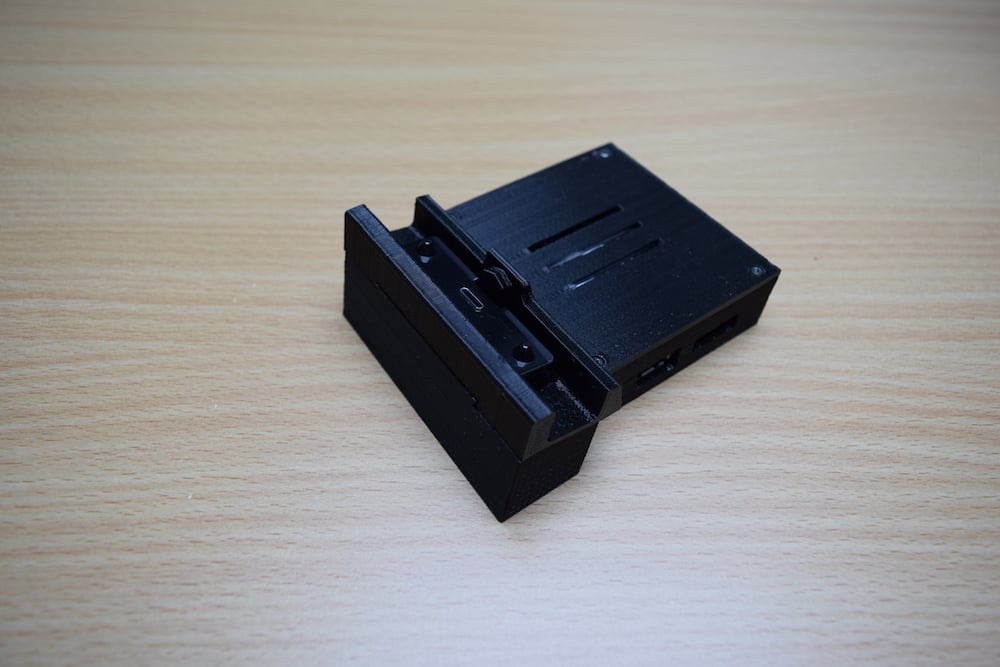
Nintendo Switch Mini Dock
thingiverse
Welcome to my very first 3D model! I'm excited to share this mini dock with you, which uses the original dock's docking guidance to prevent any damage to your console's USB port. This mini dock also features openings for the air vents behind the console, ensuring optimal air intake. To assemble this mini dock, you'll need a few essential components: the original electronics, the base of the USB port, 4 silver and 4 black screws or 8 silver screws from the original dock. Here are the text-based assembly instructions: 1. Connect the USB ribbon and LED cable to the board with ease. 2. Insert the LED into its designated slot on the base of the dock, ensuring it lines up perfectly with the opening. 3. Slide the board into the base and secure it firmly using 4 silver screws. 4. Insert the base of the USB port into the four pillars in the dock with precision. 5. Add the springs and guidance to the USB port base for a seamless fit. 6. Close up the dock by aligning the locking mechanism and screw holes, then seal everything off with 4 silver or black screws. I'm thrilled to share my first creation with you!
With this file you will be able to print Nintendo Switch Mini Dock with your 3D printer. Click on the button and save the file on your computer to work, edit or customize your design. You can also find more 3D designs for printers on Nintendo Switch Mini Dock.
