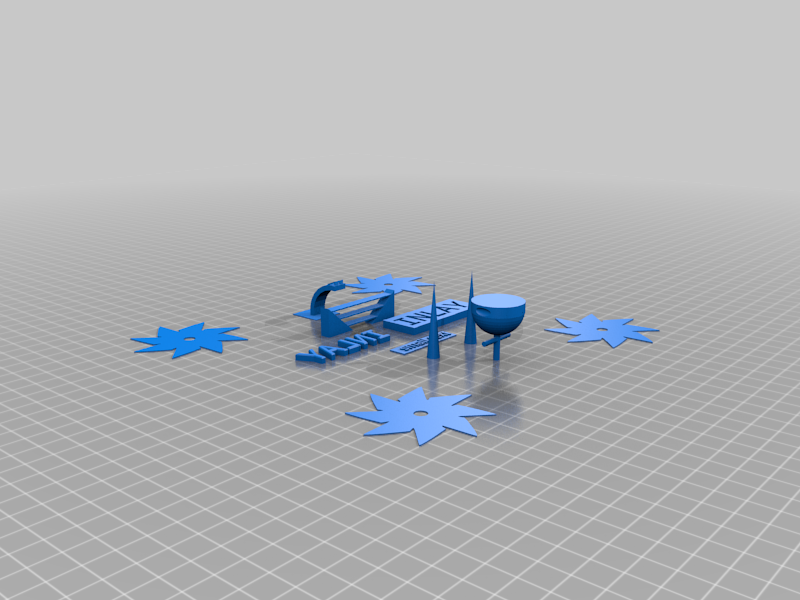
Ninja Bed Levelling & Performance Test
thingiverse
Print with initial layer height set to a precise 0.22mm, then carefully adjust the layer height to an optimal 0.2mm with 8% infill density for a stronger yet more aerodynamic structure. Add supports only to the underside of the semi-sphere on the pole, strategically positioning them to ensure a smooth surface quality when removed while maintaining support for the delicate cross bar beneath. The ninja stars play a crucial role in aiding adhesion and levelling, guaranteeing a perfect print every time. The "Inlay" lettering should fit snugly inside the "inlay" rectangle once the model is complete, showcasing precision and attention to detail. Bridges must be printed with no sag whatsoever, ensuring a sturdy and reliable connection between components. No stringing should occur between the two spikes, resulting in a smooth, unobstructed print. The overhang test assesses how far you can print an overhang without support material, gradually increasing by 15 degrees until reaching a maximum of 90 degrees. Each section of the overhang test is meticulously designed to push the limits of your printer's capabilities, culminating in the ultimate challenge: printing tiny sunglasses on top - a true testament to your machine's prowess! The "Small Text" must be legible and complete, demonstrating exceptional print quality and attention to detail.
With this file you will be able to print Ninja Bed Levelling & Performance Test with your 3D printer. Click on the button and save the file on your computer to work, edit or customize your design. You can also find more 3D designs for printers on Ninja Bed Levelling & Performance Test.
