NFC Color Swatch
prusaprinters
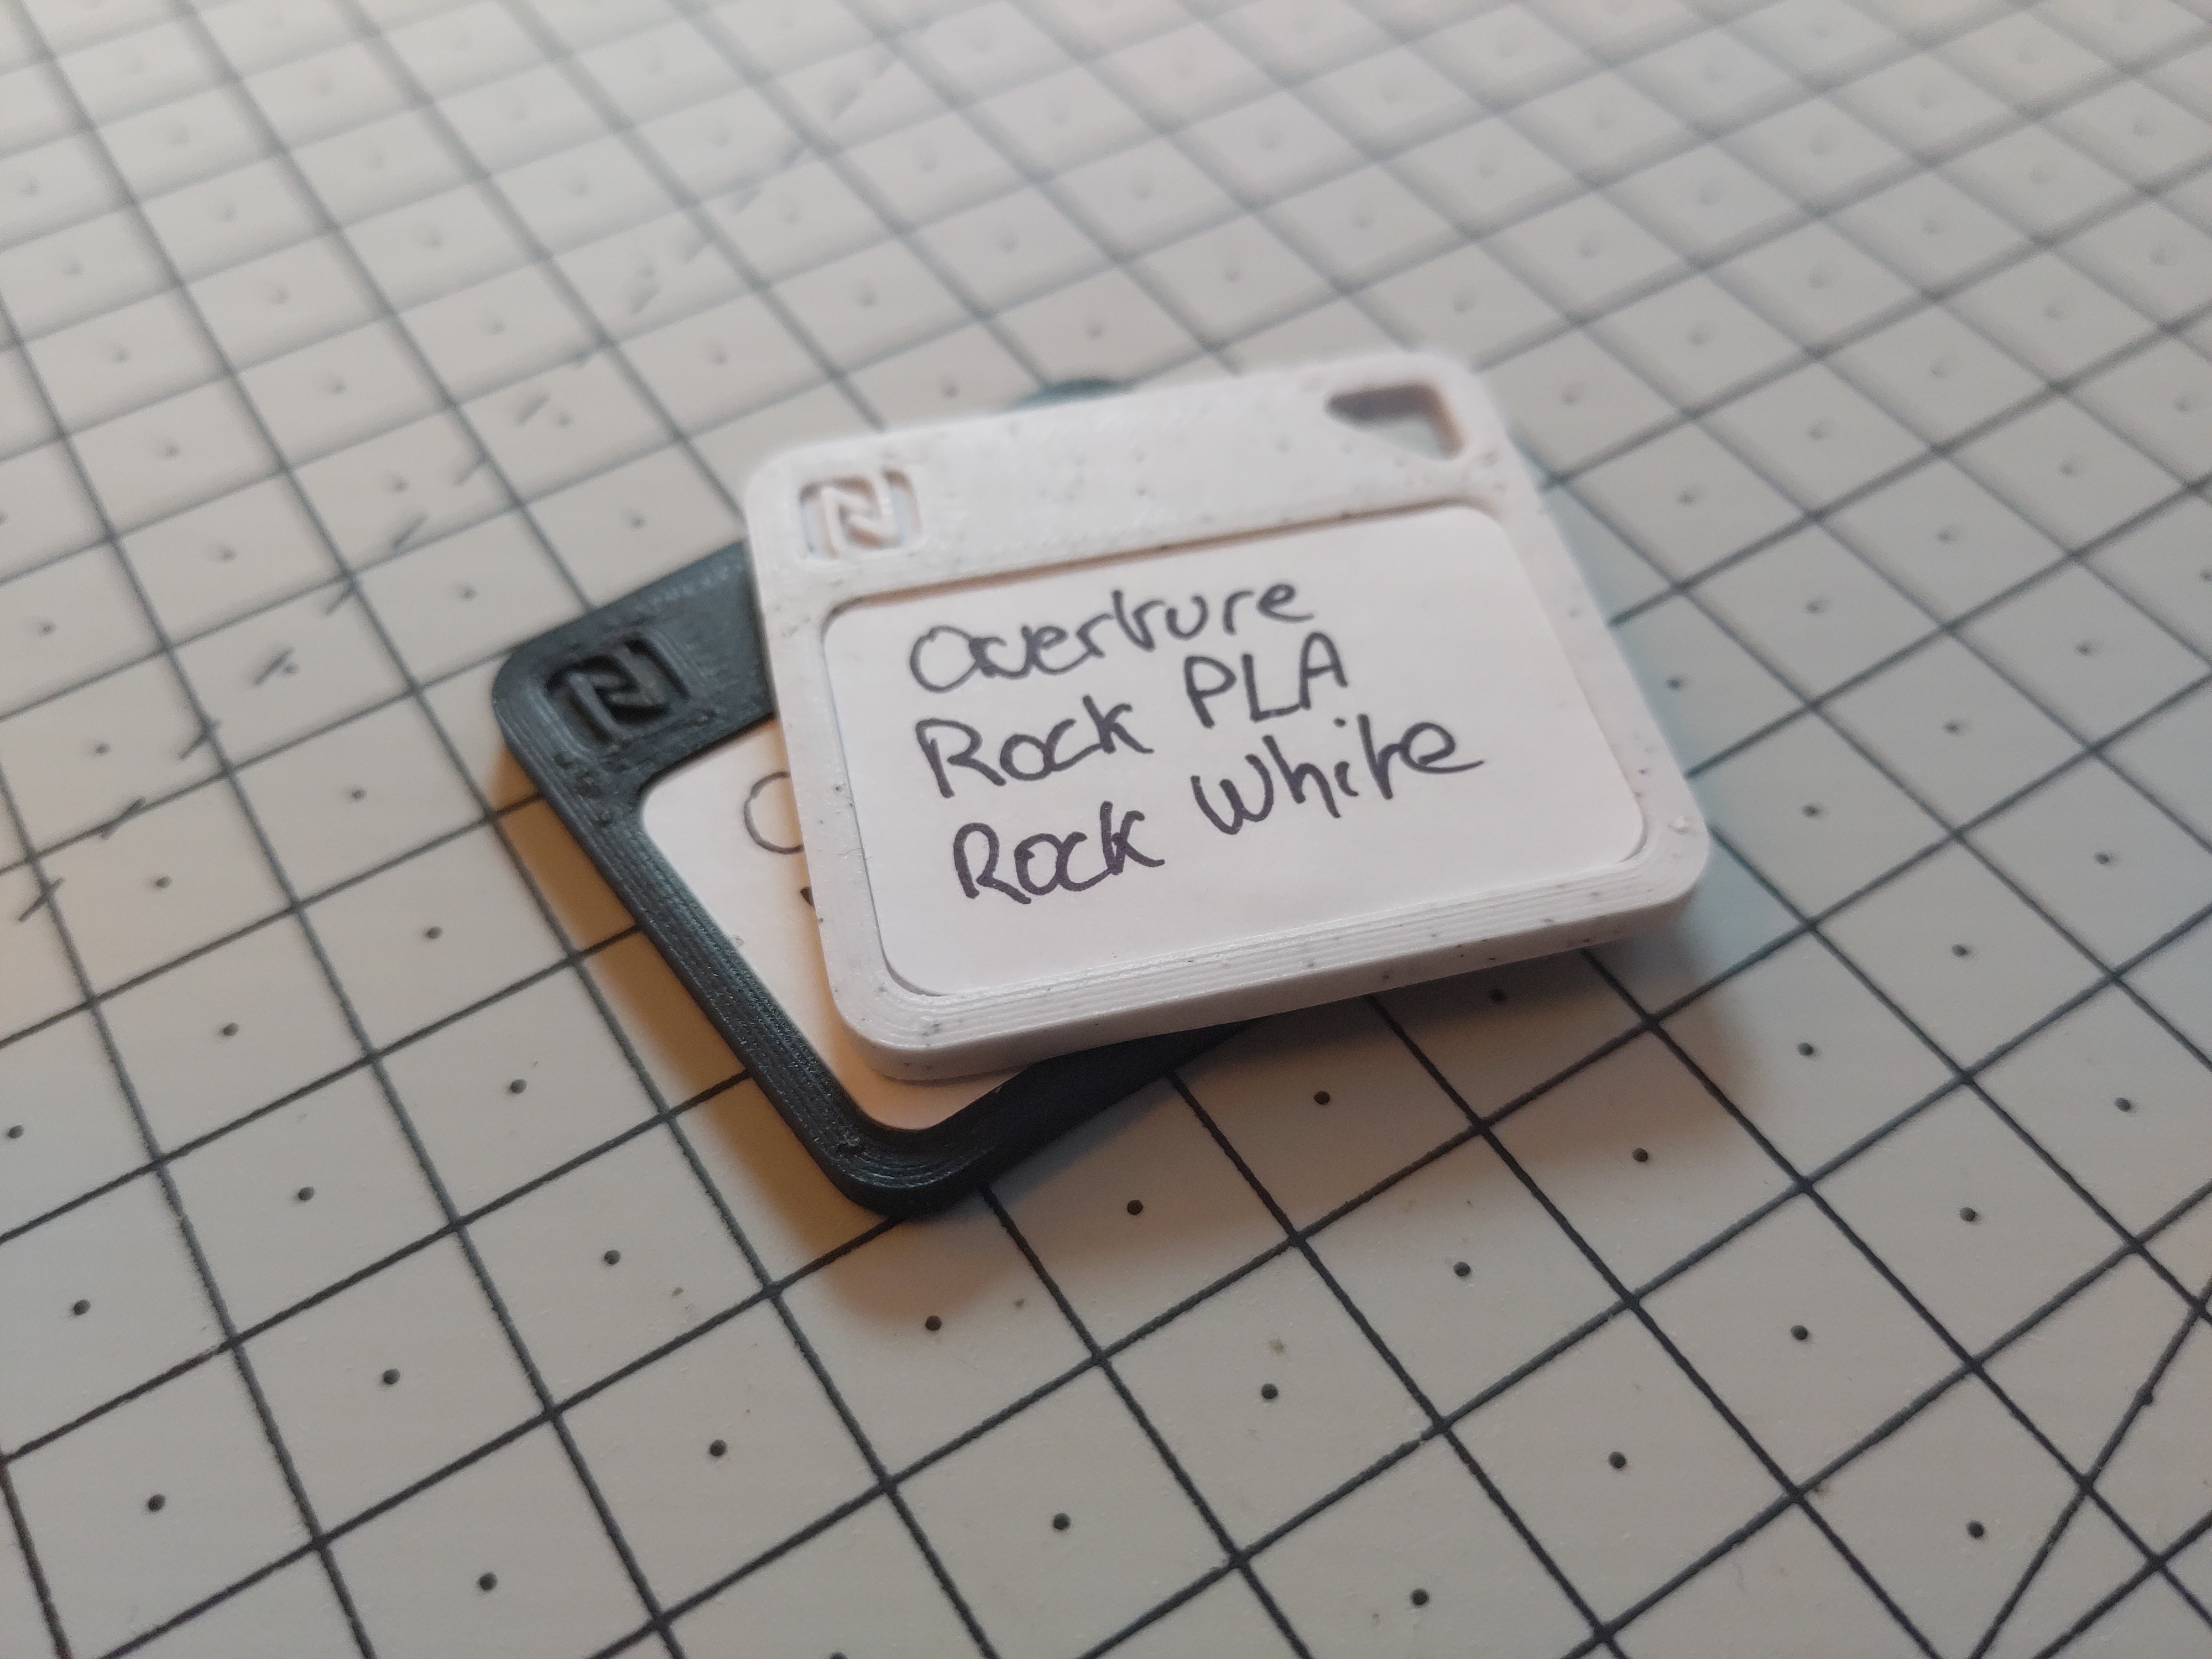
<p>This is a remix of my original <a href="https://www.printables.com/model/253585-filament-sample-color-swatch">Filament Color Swatch</a> that has been modified to include a small pocket inside the print to add a <a href="https://www.amazon.com/Stickers-NTAG215-Programmable-Compatible-Android/dp/B091FCH6XT">25mm NFC tag sticker</a>. All those modifications have been made directly in the Slicer with a pause added before the 1.6mm layer to let you stick the sticker in the pocket.</p><figure class="image image_resized" style="width:75%;"><img src="https://media.printables.com/media/prints/232997/rich_content/f3eb6063-85ca-4408-972b-8b2e0f7cc8a4/preview-6.jpg#%7B%22uuid%22%3A%2251e2b3db-33b4-405f-90c8-71bcff96f76a%22%2C%22w%22%3A3000%2C%22h%22%3A2000%7D"></figure><p>You will then end-up with an embedded NFC tag inside your filament swatch, allowing you to store information such as the filament name, type, printing temperature, supplier URL, ... Those tag can easily be written and read on your phone using an app such as NFC Tools on <a href="https://play.google.com/store/apps/details?id=com.wakdev.wdnfc">Android </a>or <a href="https://apps.apple.com/us/app/nfc-tools/id1252962749">iOS</a>.</p><figure class="image"><img src="https://media.printables.com/media/prints/232997/rich_content/476c18c4-d324-419e-9bfc-976e125800fe/readme-01-nfc-app.png#%7B%22uuid%22%3A%227b7bfe9b-c0ee-4a0d-8c07-42ee89a0245e%22%2C%22w%22%3A2160%2C%22h%22%3A2139%7D"></figure><p>On top of the original models that includes the name of the filament type being printing, I also included a new one in this remix that replaces this text with the NFC logo instead, to show that the sample tag is NFC enabled.</p><h4>Printing</h4><p>I would suggest <strong>using the included Prusa Slicer configuration file to print this project</strong> and just select the model you wish to print and your own preferred filament profile as this project relies heavily on modifiers setup directly in Prusa Slicer.</p><ul><li><a href="https://help.prusa3d.com/article/layers-and-perimeters_1748#layer-height">Layer Height</a>: 0.2mm</li><li><a href="https://help.prusa3d.com/article/infill_42#fill-density">Infill</a>: 100% (recommended)</li><li><a href="https://help.prusa3d.com/article/support-material_1698">Raft / Supports / Brim</a>: no</li><li><a href="https://help.prusa3d.com/article/seam-position_151069">Seam position</a>: Aligned (recommended)</li><li><a href="https://help.prusa3d.com/article/layers-and-perimeters_1748#thick-bridges">Thick bridges</a>: True (required)</li></ul><p>Using this preconfigured file, you will be able to generate a printable GCODE with a pause at about half of its printing time. This pause is made to allow you to stick your NFC tag in the pocket made for it, you should then just be able to resume your print and end up with a NFC enabled filament sample !</p><h4>Manual setup</h4><p>If you wish to replicate what was done to generate this configuration, you will need to:</p><ul><li>Right click on the model you wish to configure and select <code>Add a negative volume</code> then choose <code>Cylinder</code>.</li></ul><figure class="image image-style-align-center"><img src="https://media.printables.com/media/prints/232997/rich_content/afba0237-4d1f-4830-aba2-8212e77b0ecb/readme-02-negative-volume.png#%7B%22uuid%22%3A%223e0df560-d6f5-41ff-b5e3-c505cd9b1d59%22%2C%22w%22%3A1248%2C%22h%22%3A891%7D"></figure><ul><li>You should then set the size of this cylinder to <code>26 × 26 × 0.4 mm</code>. This will create a pocket big enough to insert our 25mm NFC sticker.</li></ul><figure class="image"><img src="https://media.printables.com/media/prints/232997/rich_content/d439a665-30e3-4bf3-b9d1-39e9b1b47cf6/readme-03-cylinder-size.png#%7B%22uuid%22%3A%22e8deb931-d438-46e3-9743-37d72784b40d%22%2C%22w%22%3A1248%2C%22h%22%3A891%7D"></figure><ul><li>Then, we need to update the position of this cylinder to coincide with the center of our model. You should set its position to <code>X: 0</code>, <code>Y: 0</code> and <code>Z: -0.3</code>. This will set it perfectly in the middle of the model, lowered by 0.3mm (which is half the size of the label indent, centering it with the smallest part of the model). You can tweak this Z value if you wish to have the tag closer to the front or the back of the model.</li></ul><figure class="image"><img src="https://media.printables.com/media/prints/232997/rich_content/50b876d3-2db9-4c49-86f8-1862c8fa85d8/readme-04-cylinder-position.png#%7B%22uuid%22%3A%22e7ff0ff6-67a6-4f53-b359-ca2ceafdd1b9%22%2C%22w%22%3A1248%2C%22h%22%3A891%7D"></figure><ul><li>Finally we need to add a pause just before the layer that bridges the pocket we just created. Go to the Preview view select the layer that show the blue <i>Bridge Infill</i> feature. This is the bridging layer, you should then right click on the <code>+</code> next to this layer and select <code>Add pause print (M601)</code> (it should be the 1.60 mm layer if you configured your pocket as directed previously and you are slicing the model at 0.2 mm layer height). See <a href="https://help.prusa3d.com/article/insert-pause-or-custom-g-code-at-layer_120490">Insert pause or custom G-code at layer</a> for more information.</li></ul><figure class="image"><img src="https://media.printables.com/media/prints/232997/rich_content/e493335e-6f11-41e2-855b-220ec2da5b99/readme-05-gcode-pause.png#%7B%22uuid%22%3A%22e4ab442b-4848-4196-8073-1b0ee0cd1ba5%22%2C%22w%22%3A1248%2C%22h%22%3A891%7D"></figure><p>After doing all these, you will have a perfect copy of the modification made to each models in the Prusa Slicer configuration shipped with this project. You should then update your printing parameters to the ones defined in the <strong>Printing</strong> section.</p>
With this file you will be able to print NFC Color Swatch with your 3D printer. Click on the button and save the file on your computer to work, edit or customize your design. You can also find more 3D designs for printers on NFC Color Swatch.