NexStar 114GT Solar Filter
thingiverse
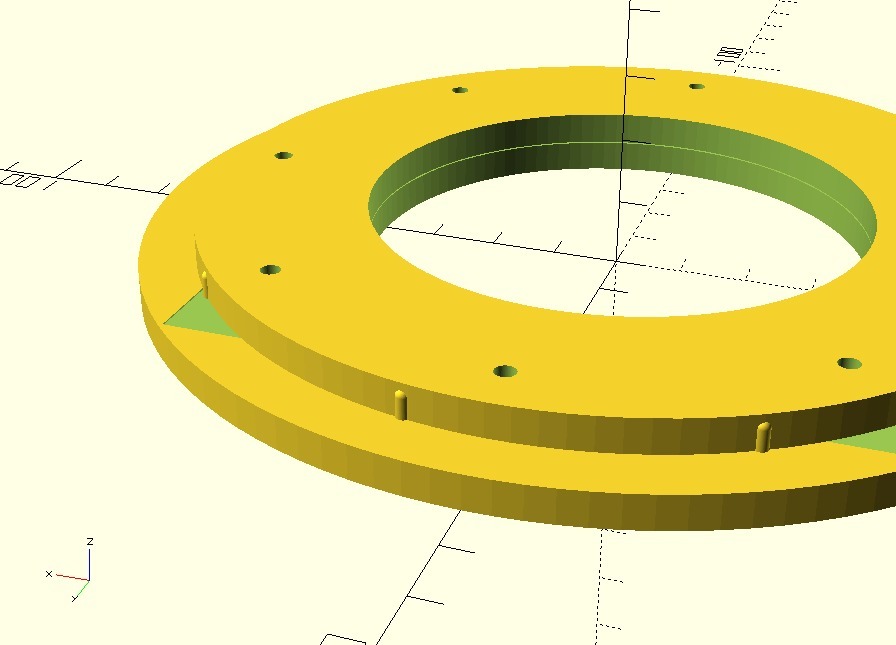
Print the top and bottom, then attach the bottom to the top using 8 M3 10mm screws, making sure not to use flat head screws unless you add a counter sink to the model. Trim any excess solar film with a hobby knife for a clean look. The top ring has a square recess that helps align the solar film in place. Use double-sided tape to hold it firmly before attaching the bottom ring. Always follow the direction on the solar film, as indicated by which side faces the sun (usually the silver side). This solar filter is 10mm thick, much thicker than necessary, but you only have 10mm screws on hand and didn't want them to protrude. Never look directly at the sun without a working solar filter. Inspect the solar film before each use for any damage and replace it as needed.
With this file you will be able to print NexStar 114GT Solar Filter with your 3D printer. Click on the button and save the file on your computer to work, edit or customize your design. You can also find more 3D designs for printers on NexStar 114GT Solar Filter.