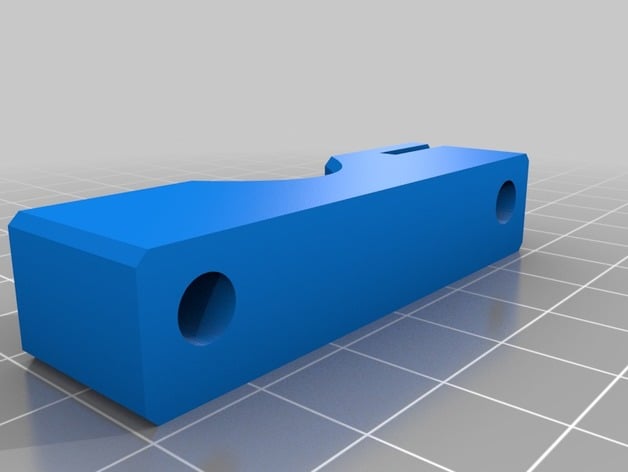
New Z sliding clamp for Reach3D printer
thingiverse
11/20/16 edit : Improved Front Clamp updated for better barrel diameter, and nuts installed deeper Based on the original hot end clamps by Nate Rogers on the Reach 3D, plus Benson Chan's innovative sliding Z proximity sensor (www.thingiverse.com/thing:1695020) This is a new all-in-one hot end clamps+Z slider + reach3D Xmin integration. It should work with bowden E3Dv6 hot ends and Chinese clones too ! The back hot end clamp is larger than the original one, you don't have to print it, it's part of a bigger project adding neopixels to the Reach3D hot end (needed to move hot end away from X gantry). Here is the NeoPixels Holder : http://www.thingiverse.com/thing:1873060 Only clamp-FRONT and Z-clamp are needed to work. You will also need 2xM3 nuts, one woodscrew, and one M3x50 to slide in. Assembly should be straightforward : put the nuts in, screw the M3x50 into the nuts (leave 25mm up outside), place the clamp on proximity sensor (bottom up), rotate so that the M3x50 is facing the reserved hole for its head, simply shove the M3x50 into place =) Next, mount on your Reach, and manually adjust (approx) the height of the clamp on the Z prox sensor. Screw the woodscrew. That's it. It's sliding ! Hole on top of M3x50 to fine-tune your first layer ! Print Settings Printer: Reach3D Rafts: No Supports: Yes Resolution: 0.2mm Infill: 15 to 20% Notes: For the front hot end clamp, print it upside down with supports. Can be tricky to print... test different settings in your slicer. How I Designed This Autodesk Fusion 360
With this file you will be able to print New Z sliding clamp for Reach3D printer with your 3D printer. Click on the button and save the file on your computer to work, edit or customize your design. You can also find more 3D designs for printers on New Z sliding clamp for Reach3D printer.
