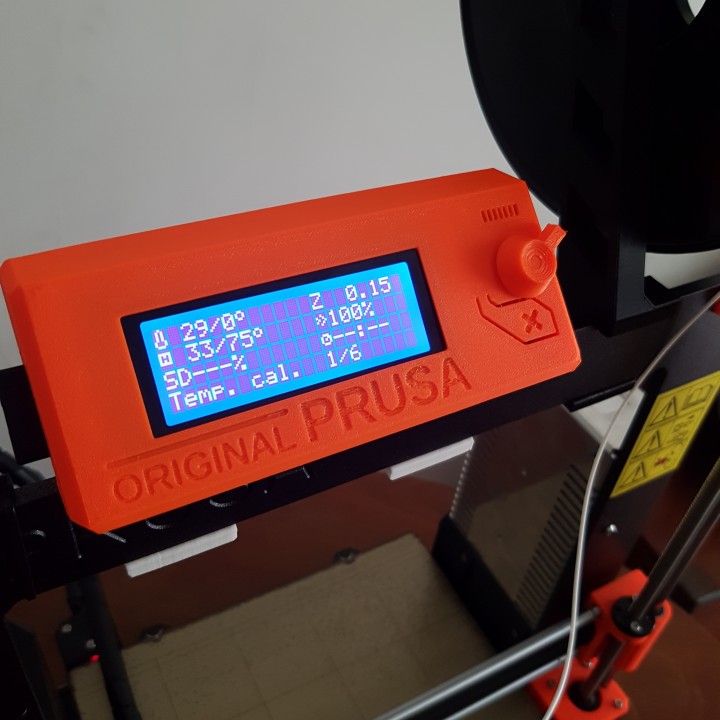
New LCD Brackets For Prusa MK2/MK3
myminifactory
A space-saving upgrade for the Prusa MK2/MK3 that relocates the LCD from the front to the top of the printer. I printed mine at 100% scale but you may need to adjust it according to your printer's tolerances. It's recommended to print the new brackets using ABS or PETG, although PLA worked well for me. Printing the new brackets without a brim or raft makes cleanup easier and allows for smoother mounting. Installation is straightforward: remove the LCD cables beforehand (step 2). Here's how it works: 1. Remove the old brackets from the metal frame. 2. Unscrew the LCD from its cover. 3. Replace the existing brackets on the LCD with new left and right brackets. 4. Reattach the LCD to its cover. 5. Mount the new LCD assembly to the top arm of the gantry as you would a spool holder. 6. (Optional) Use zip ties to manage the LCD cables along the side of the gantry. Happy printing!
With this file you will be able to print New LCD Brackets For Prusa MK2/MK3 with your 3D printer. Click on the button and save the file on your computer to work, edit or customize your design. You can also find more 3D designs for printers on New LCD Brackets For Prusa MK2/MK3.
