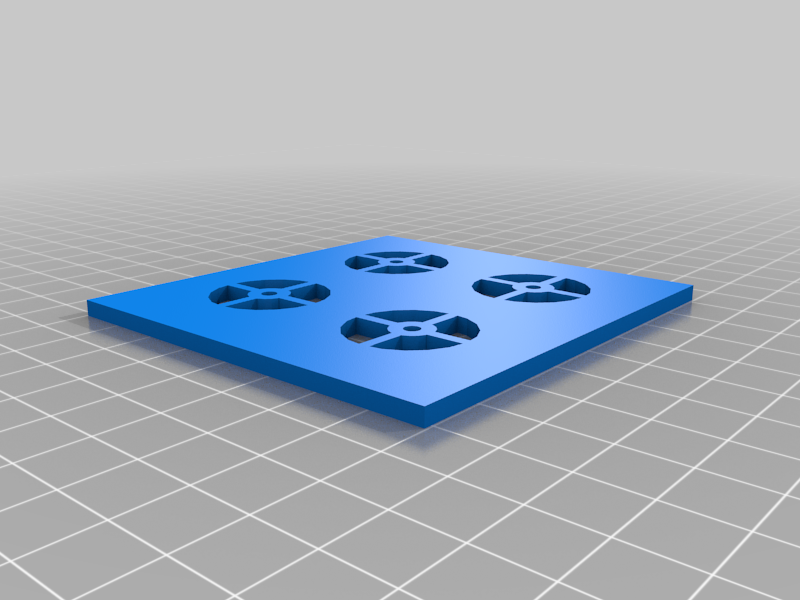
Network Gland drill guide
thingiverse
Network Installation Drill Guide: Drilling a 22mm Hole. Drill carefully through a wall to run network cables using this easy-to-follow guide for drilling a precise 22mm hole. Begin by marking the spot on the wall where you want the cable to pass through, then use a stud finder to locate any electrical wires or plumbing behind the drywall. Next, mark the center of the desired hole and draw a small circle around it with a pencil. Using a level to ensure your drill is perfectly straight, position the bit at the marked spot and start drilling slowly but firmly. As you make progress through the wall, apply gentle pressure and keep the drill steady to avoid damaging surrounding surfaces or tools. When the bit has pierced the other side of the wall, carefully pull it out and inspect the hole for any debris or splinters. To complete the installation, insert a network cable into one end of the 22mm hole and push it through until it emerges on the opposite side, securing it with a cable tie if necessary. Finally, connect your devices to the network using an Ethernet cable or Wi-Fi adapter and enjoy seamless internet connectivity throughout your home or office.
With this file you will be able to print Network Gland drill guide with your 3D printer. Click on the button and save the file on your computer to work, edit or customize your design. You can also find more 3D designs for printers on Network Gland drill guide.
