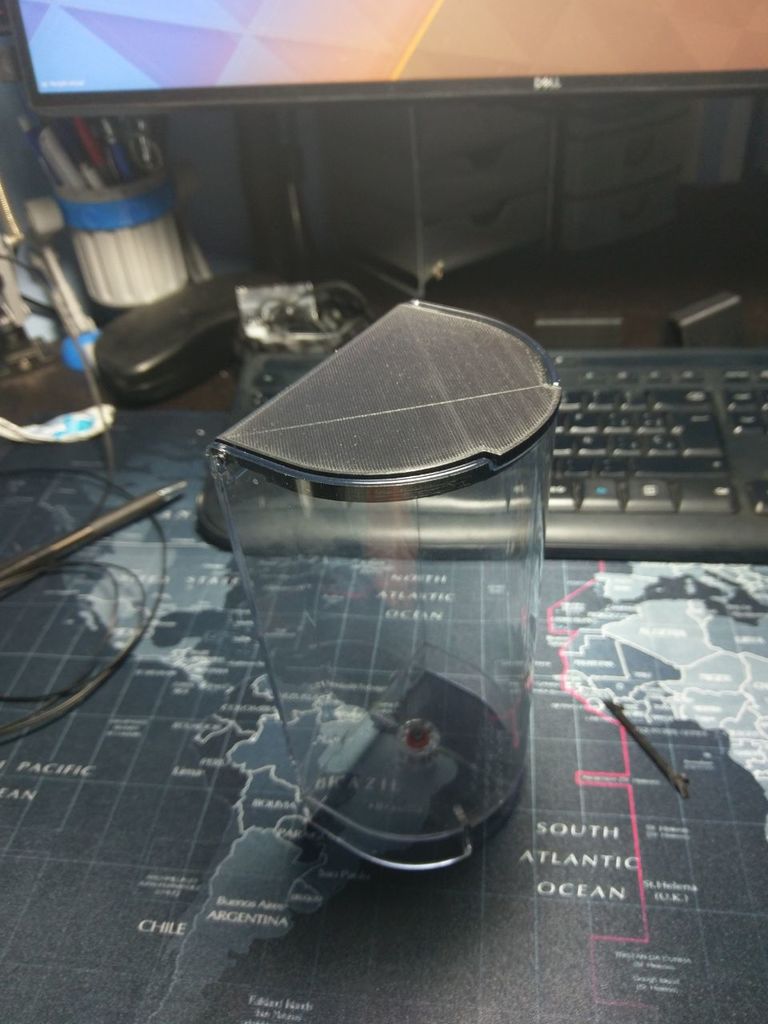
Nespresso water tank lid
thingiverse
Nespresso Water Tank Lid Replacement Instructions Replacing your Nespresso water tank lid is an easy process that requires only a few minutes of your time. First, locate the lid on top of the water tank and lift it upwards to remove it from its housing. Next, inspect the underside of the lid for any mineral buildup or debris that may be obstructing its seal. To clean the lid, simply rinse it under running water and dry it thoroughly with a soft cloth. If you find any stubborn stains or buildup, you can soak the lid in warm soapy water for about 10 minutes before rinsing and drying it again. Once the lid is clean, locate the small plastic clip that holds it in place. Gently pry the clip open by inserting a flathead screwdriver between the clip and the housing. Remove the old lid from its housing and discard any remaining debris or mineral buildup. Now it's time to install your new Nespresso water tank lid. Align the new lid with the housing, making sure that the seal is properly seated. Gently push the lid into place until you hear a soft click as the clip engages. Repeat this process for both lids if you are replacing them. Finally, inspect your work by checking the seals on both lids to ensure they are securely attached and not leaking. Your Nespresso machine should now be back up and running smoothly with fresh water flowing through its system.
With this file you will be able to print Nespresso water tank lid with your 3D printer. Click on the button and save the file on your computer to work, edit or customize your design. You can also find more 3D designs for printers on Nespresso water tank lid.
