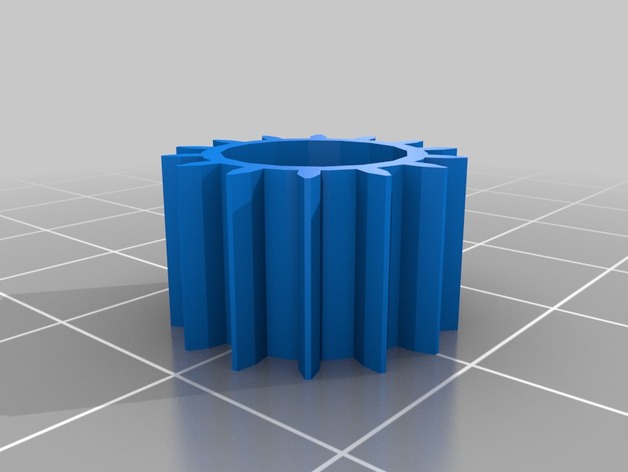
Nerf Roughcut 2X4 Replacement Gears
thingiverse
These custom replacements are designed specifically to fit inside a Nerf Roughcut 2x4, serving as direct substitutes for the original gears if they happen to break. A key step involves drilling out the centre hole with a precise 3mm drill bit. Replacement Instructions Begin by taking apart the gun itself (note: colours may vary depending on the specific model you own): Start by unscrewing and removing the three screws from the priming handle, then proceed to undo all the main body's screws, which will allow you to open it up. Exercise caution when handling the small orange part and spring in the tactical rail, as they could easily fly off and become lost. It's recommended to take clear photos at this point to facilitate the reassembly process later on. Once inside, look for the two plunger tubes connected to the front barrel. The plungers themselves are connected to the main mechanism, which consists of a rack gear attached to the priming handle, as well as two gears (one large and one small) along with a second rack gear linked to the plungers. You'll also find the trigger, trigger catch, and two additional catches. These last catches often have a tendency to pop out during disassembly, so be sure to pay close attention to their original configuration. Begin by gently pulling out the trigger, taking note of how it twists slightly as it comes loose. Next, carefully disconnect the plungers from the top rack gear; this process is made easier by gently twisting one of the plungers in place. With the trigger now removed, take a moment to closely examine the catches on either side of the mechanism – there should be one on each. Remove the 3 screws that hold the entire mechanism together and then release the small clip found at its bottom end; once loose, you can more easily replace or swap out the two gears within. Be sure to get these into the right orientation (small gear on top and large on bottom) as part of this process. Now verify that both catches have not flown off during disassembly, then proceed to secure the mechanism back in place using the 3 screws, taking special care to see that all the necessary components work as they should. Once reattached, you can now reconnect the plungers (remembering to keep their respective catch pressed down) along with the trigger itself. With the core components of the gun fully reassembled and functional, reinsert all parts into its outer casing before screwing them back in place – leaving only one crucial step left: securing the priming handle in position last.
With this file you will be able to print Nerf Roughcut 2X4 Replacement Gears with your 3D printer. Click on the button and save the file on your computer to work, edit or customize your design. You can also find more 3D designs for printers on Nerf Roughcut 2X4 Replacement Gears.
