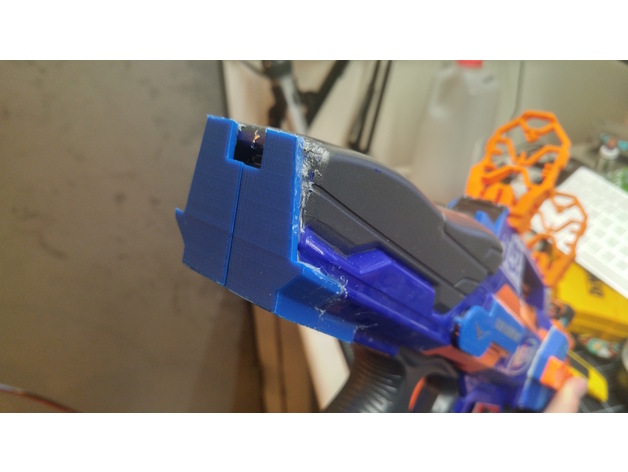
Nerf Rapidstrike Butt Plate
thingiverse
If you remove your Nerf Rapidstrike's stock, a large hole will now be visible at the back of your blaster. Cover this opening with a custom-made butt plate provided in two versions - one has an outlet for a USB port or charging cable, while the other is solid. Whether you wanted to make your blaster lighter or have more space for electronics and batteries, you can safely remove your stock without a big hole in your blaster's backside. Print Settings Printer Brand: Ultimaker Printer: Ultimaker 2 Rafts: Doesn't Matter Supports: No Infill: 20% Notes: I highly recommend printing in ABS because it can be welded directly to the blaster. For reliability, print with thick walls - I used 2mm walls on all sides. Post-Printing Open your blaster and take out the stock. Put a piece of tinfoil or wax paper between the shell halves where the butt plate will be installed. Reassemble your blaster. Use sandpaper to rough up the backside of your blaster and the contact faces of the butt plate. Apply ABS cement or plastic repair epoxy generously to the blaster. Install the butt plate pieces. Clamp the butt plate pieces to the blaster. Use a metal tool to spread the adhesive and fill gaps and seams. Let the adhesive fully cure. Remove the foil or wax paper.
With this file you will be able to print Nerf Rapidstrike Butt Plate with your 3D printer. Click on the button and save the file on your computer to work, edit or customize your design. You can also find more 3D designs for printers on Nerf Rapidstrike Butt Plate.
