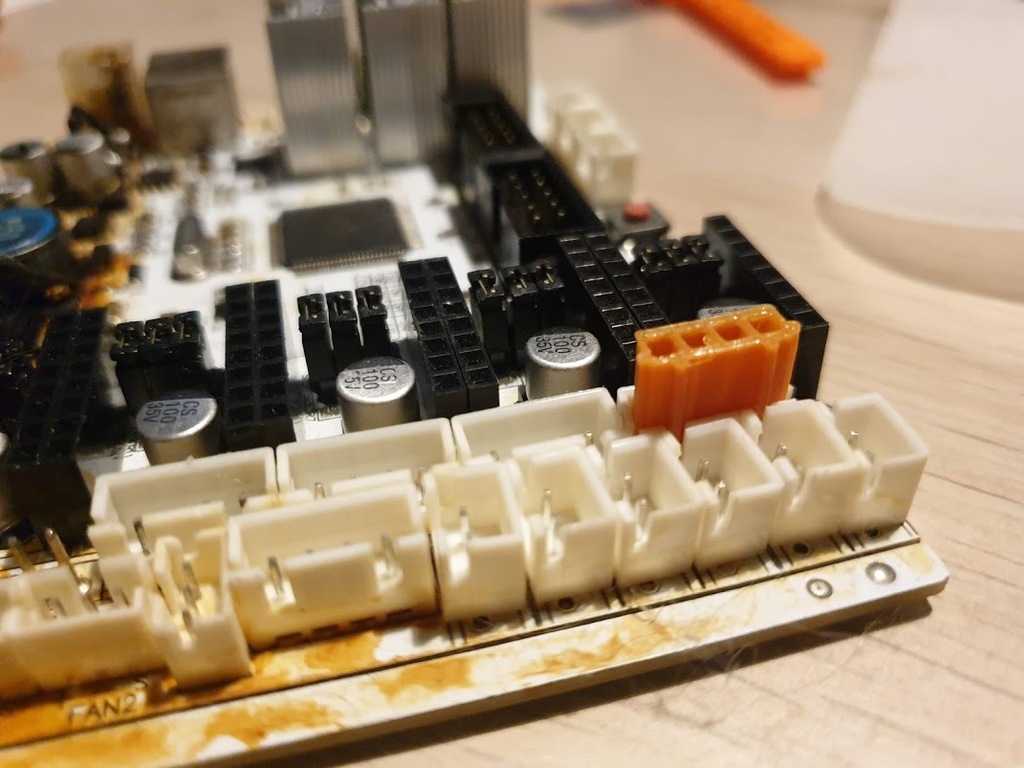
NEMA 4-pin mainboard connector
thingiverse
When I purchased NEMA motor cables, they came equipped with a distinct standard - a sleek 4-pin black connector featuring four wires (red, blue, black, and green) in a specific sequence. However, my mainboard, the GT2560, utilizes a unique type of connector that differs significantly from the original one. Although I initially managed to use the black connector for a while, it eventually became loose and fell off during a print. To resolve this issue, I designed a custom connector that seamlessly integrates with the mainboard's socket. To utilize this new connector, you'll need to carefully remove the wires from their existing 4-pin connector, reorganize them in the correct order within the new connector, and then secure it firmly in place using either hot glue or by melting the connector around the wires. You can achieve a smooth bond between the wires and the connector using a soldering iron. Alternatively, if you don't have access to a soldering tool, you can also employ your 3D printer's nozzle to melt the connector. I printed this custom connector in PETG, but I recommend opting for PLA or ABS for superior quality results, as PETG is prone to absorbing moisture.
With this file you will be able to print NEMA 4-pin mainboard connector with your 3D printer. Click on the button and save the file on your computer to work, edit or customize your design. You can also find more 3D designs for printers on NEMA 4-pin mainboard connector.
