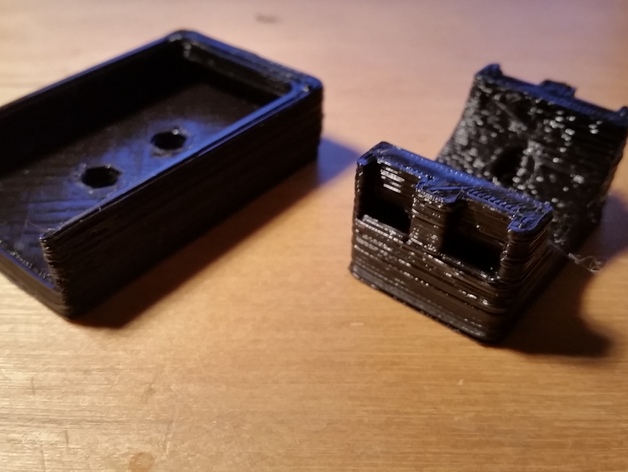
Neco Garage door remote Bike handlebar mount
thingiverse
You need a mount to attach the NECO remote control to your bike handlebars. This particular mounting solution is designed specifically for this remote: http://linkowl.net/c27a. First, take apart the back of the remote by unscrewing it, open it up and remove the metal outer rim with the keyring loop at the bottom, then reassemble the remote as it was before. This project requires two M3 nuts and bolts, each 14mm long, along with two cable ties that are preferably 4mm wide. Raft Settings: Do not print a raft for this mount. Support Settings: You will need no supports while printing. After printing the mount, putting it together is quite simple. Just screw the two pieces together tightly. Then you simply have to insert the nuts into their corresponding holes and put the remote in its holder. Next, thread your bolts into the rounded base as you screw them in. Finally, place the base onto the top and secure it firmly by screwing it into the nuts.
With this file you will be able to print Neco Garage door remote Bike handlebar mount with your 3D printer. Click on the button and save the file on your computer to work, edit or customize your design. You can also find more 3D designs for printers on Neco Garage door remote Bike handlebar mount.
