Navio2 Autopilot case
thingiverse
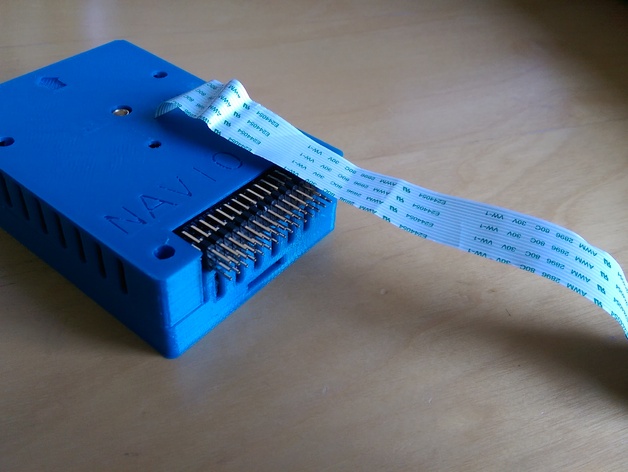
After several hours the wait is over and the Navio2 case is finally ready!! Print both parts with the flat surface facing downwards using support material in the slot where power, I2C, etc connectors go. Use 2 bottom and top layers. 2 perimeters and 20% infill for a strong and sturdy build. Secure everything together with M2.5x8 Allen screws (recommended) to ensure a tight fit. UPDATE: A convenient slot has been added for easy removal of the RPi3 SD card, making maintenance a breeze. To take your Navio2 setup to the next level, you can retrofit the upper cap with PWM pins and base for an available Damper platform (check out the documentation at https://docs.emlid.com/navio2/Navio-APM/hardware-setup/). For a seamless integration, apply glue to secure the cap and damper platform to the main case. This thoughtful design minimizes support material usage during printing and allows for effortless retrofitting of older cases. Enjoy your new Navio2 setup! PS: A brand-new Beta version of the case is now available, carefully designed and ready for testing. Feel free to give it a try at https://www.thingiverse.com/thing:3082337
With this file you will be able to print Navio2 Autopilot case with your 3D printer. Click on the button and save the file on your computer to work, edit or customize your design. You can also find more 3D designs for printers on Navio2 Autopilot case.