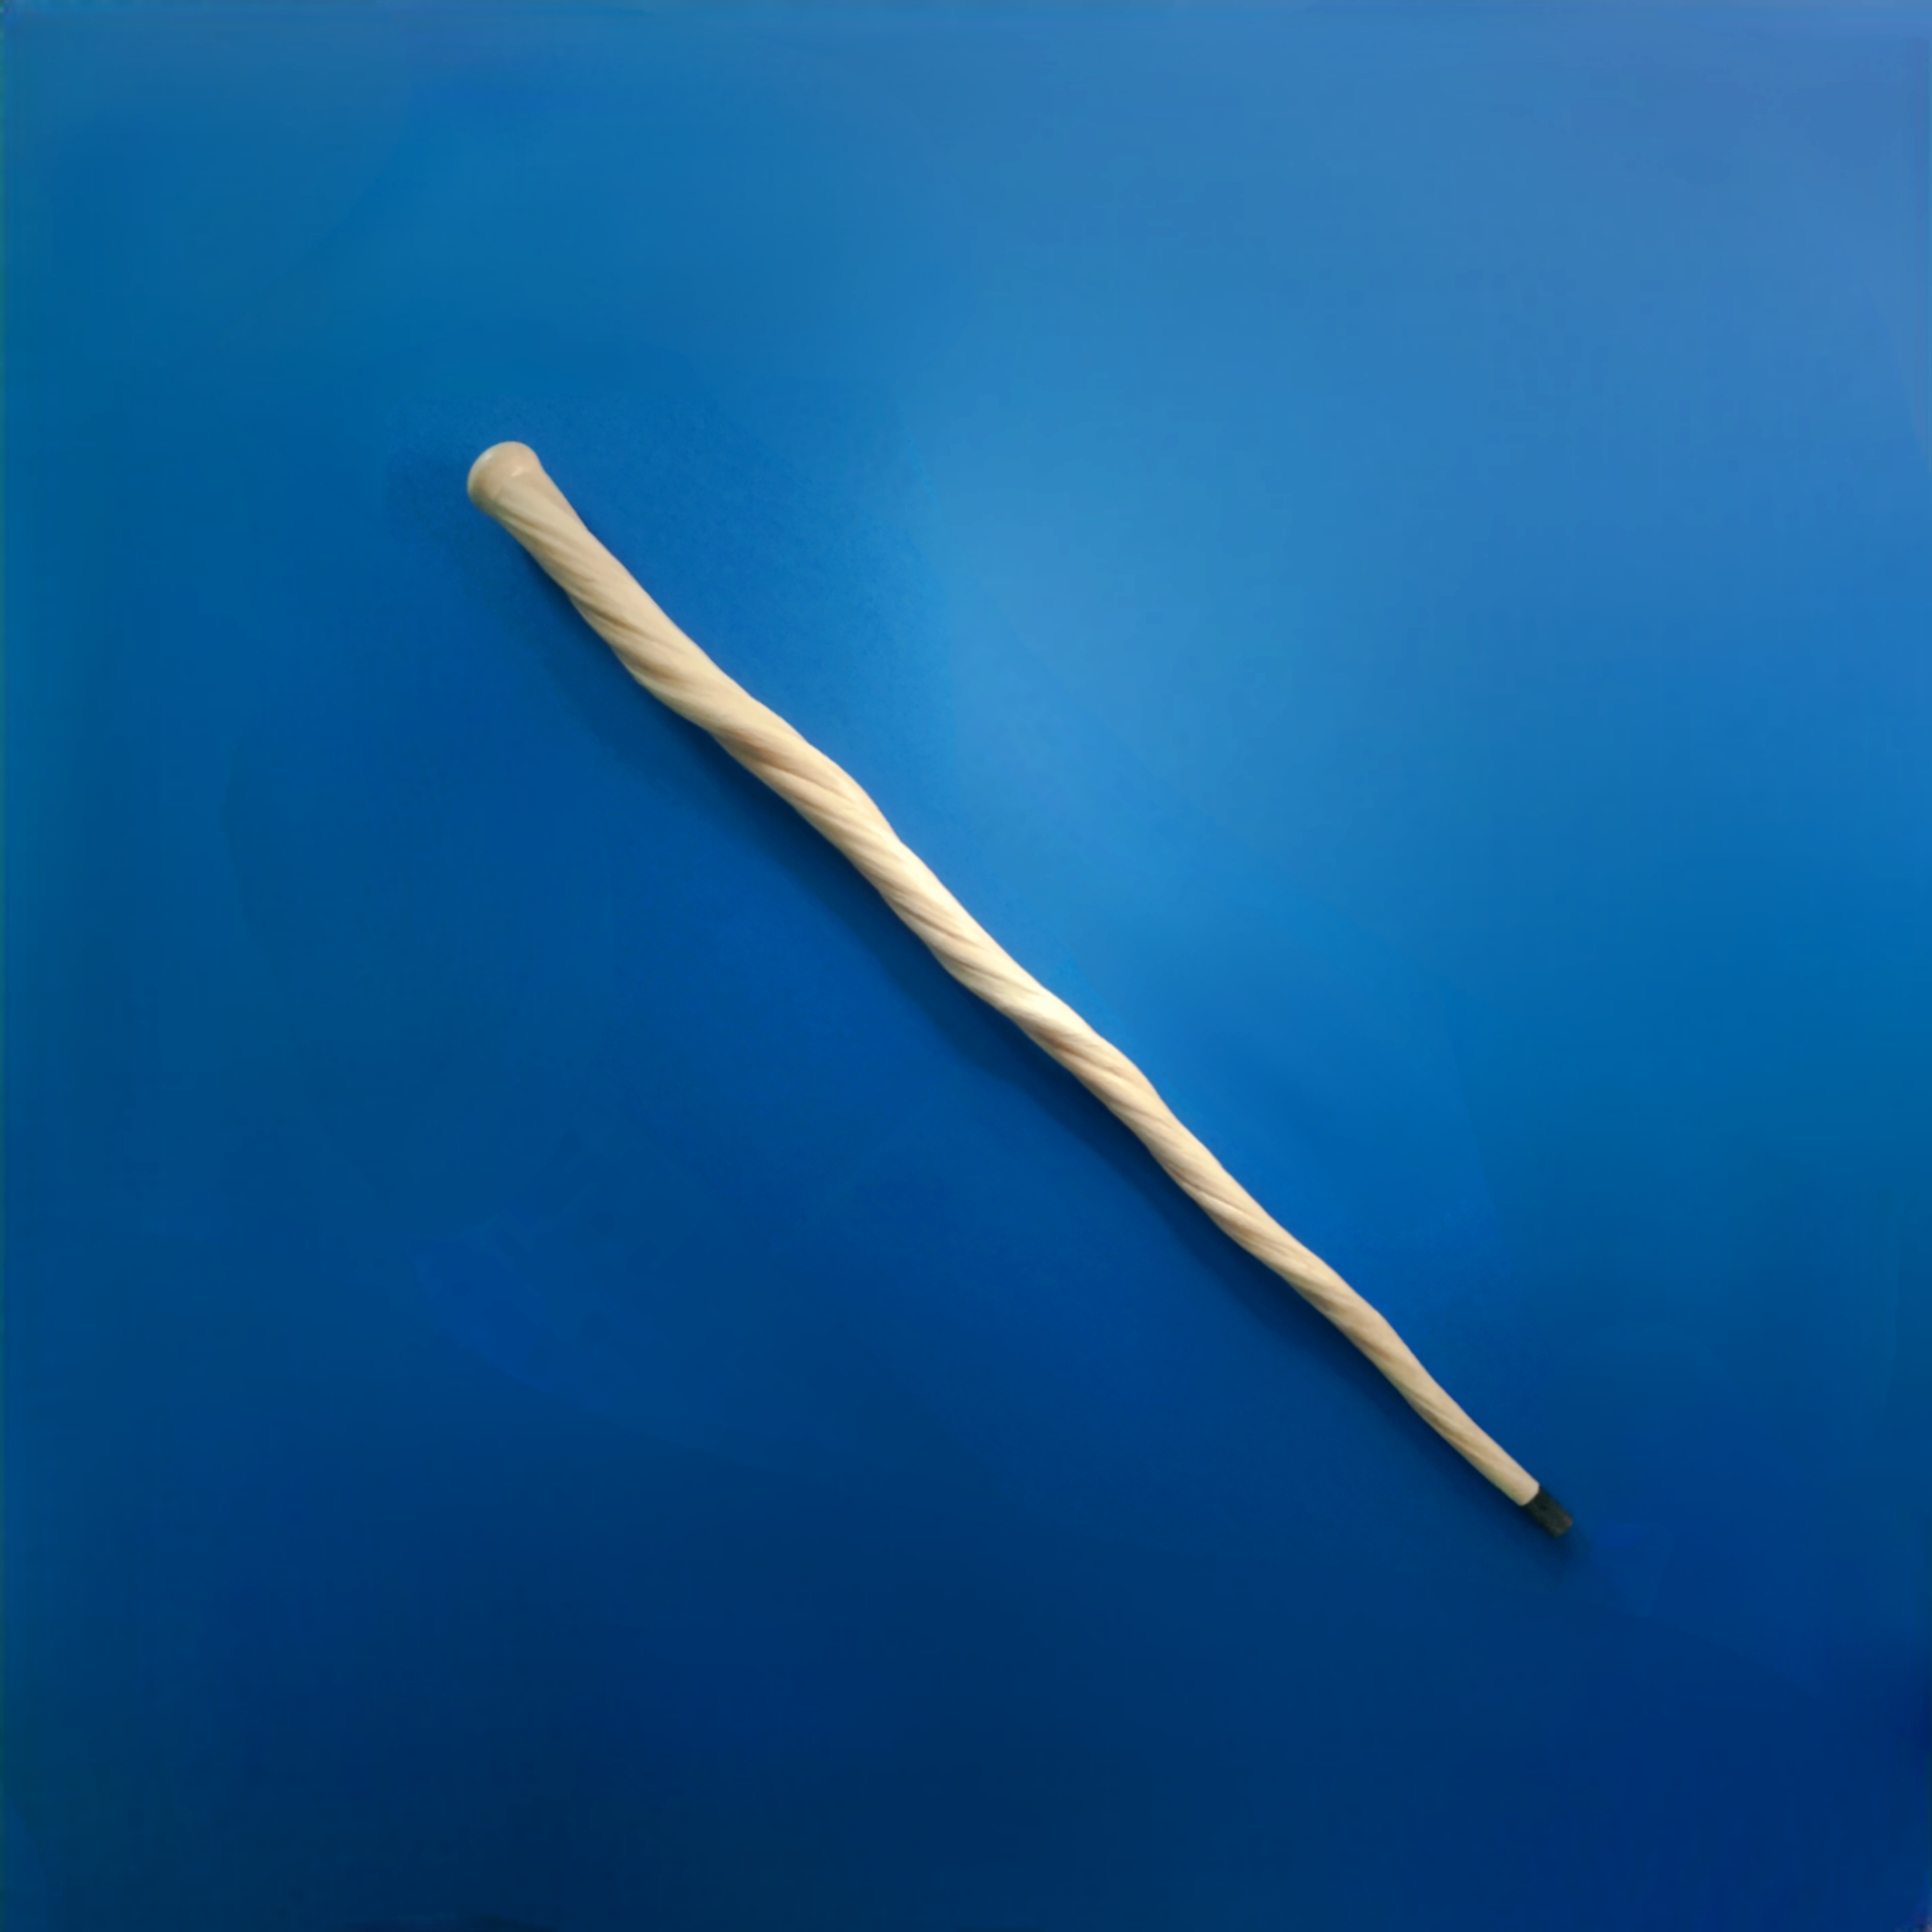
Narwhal tusk walking stick
prusaprinters
<p><strong>This model is free and took a lot of work to create. If you appreciate this model, please leave a download and a like. If you print this model, please post a make!</strong></p><p><strong>About this model</strong><br><br>This functional walking stick is created from a 3D scan of a narwhal tusk. If you want a nice walking stick or cosplay prop but don't fancy shooting a narwhal or paying a lot of money for a narwhal tusk, this might be the model for you. The added metal core makes sure you can really lean on it. I wanted to be true to a real narwhal tusk walking stick, so I tried to do minimal edits on the scanned tusk. See below for the original model. The parts of this model fit on the Prusa Mini+.<br><br><strong>Explaining my edits</strong></p><p>It was important for me to stay true to the original tusk. I have treated the tusk as if it was a physical object I wanted to turn into a walking stick.</p><ul><li>I did not scale, the tusk.</li><li>I did not edit any of the patterning/wear on the tusk. All marks and scuffs are present in the original scan.</li><li> I cut a piece of the ragged top to create a flat edge for the handle. I just trimmed it, I did not do any filling actions, you can still see an indent where the tusk is becoming hollow in real life.</li><li>The walrus ivory handle/knob is an addition based on other walking stick designs.</li><li>I have created a center hole for an M10 threaded rod.</li><li>I cut a small piece off the tip. The cut was made to retain a thick enough wall to hide the rod. This also landed me at approximately 96 cm stick length. Which seems to be about the average length for narwhal tusk walking sticks in auctions.</li><li>I have created a flat tip which you can replace when worn out.</li></ul><p><br><strong>Needed supplies to make a functional walking stick</strong></p><p>To be able to lean on the walking stick, you need a metal rod. If you print this model for display purposes only, you might be able to do without this part.</p><ul><li>M10 threaded rod or M10 Hollow threaded rod to make it lighter. I used M10 threaded hollow rod, bought at Hornbach. This is a tube, with threads on the outside. The model doesn't need the threads, but it does give the glue something to hold onto.</li><li> Glue, I used Bison transparent contact cement for the core (slightly flexible) and superglue between the printed parts (rock hard). Other brands might work for you.</li><li>Filler for the seams between parts.</li><li>Paint.</li></ul><p><strong>Printing</strong></p><p>Print the parts at 0.15 mm layer height and 15% infill. I used supports and a one layer raft on the handle for a clean connection when assembling. The tip might need support depending on your print orientation. All other parts can be printed without any support. If your print bed doesn't stick very well, you might need to add a brim on the tusk parts.</p><p><strong>Part naming and assembly</strong></p><p>When assembling, start from the top.<br>1. Install part H. Glue the handle with contact cement. Make sure the metal rod is inserted all the way into this part.<br>2. Install part P1. This is the first tusk part, the part with the biggest diameter. It is important to put contact cement on the rod and then slide the part onto the rod. Use superglue between printed parts. Install part P2 till P6 in the same way.<br>3. Paint the handle and all tusk parts before cutting the metal rod to length and installing the tip. Keeping the rod at the original length, enables clamping the model into a vise and painting it easily.<br>4. Install part T. This is the tip. Do not glue this part on, this makes sure the tip will be replaceable in the future.<br><br><strong>Customizing this model to a different length</strong><br><br>The length of this model is about 96 cm. This seems to be the size of most narwhal walking sticks. If you want to create a shorter one, you can cut the top or bottom segment to length. You might need to scale the tip a bit.</p><p><strong>Disclaimers</strong></p><ul><li>This is not a certified medical device. When in doubt, always consult a health professional.</li><li>I liked the history behind these unique and expensive historic objects. The creation of this model does not mean I endorse shooting narwhal for their tusks.</li><li>The original tusk 3D scan was available, thanks to the Idaho Digitization lab. To get an impression of the animal, you can view the complete narwhal skeleton here:<br><a href="https://sketchfab.com/3d-models/uam-3380-narwhal-c04851c95366424aa99506e9dd7e034f">https://sketchfab.com/3d-models/uam-3380-narwhal-c04851c95366424aa99506e9dd7e034f</a></li></ul>
With this file you will be able to print Narwhal tusk walking stick with your 3D printer. Click on the button and save the file on your computer to work, edit or customize your design. You can also find more 3D designs for printers on Narwhal tusk walking stick.
