Name Your Own Price Gun
prusaprinters
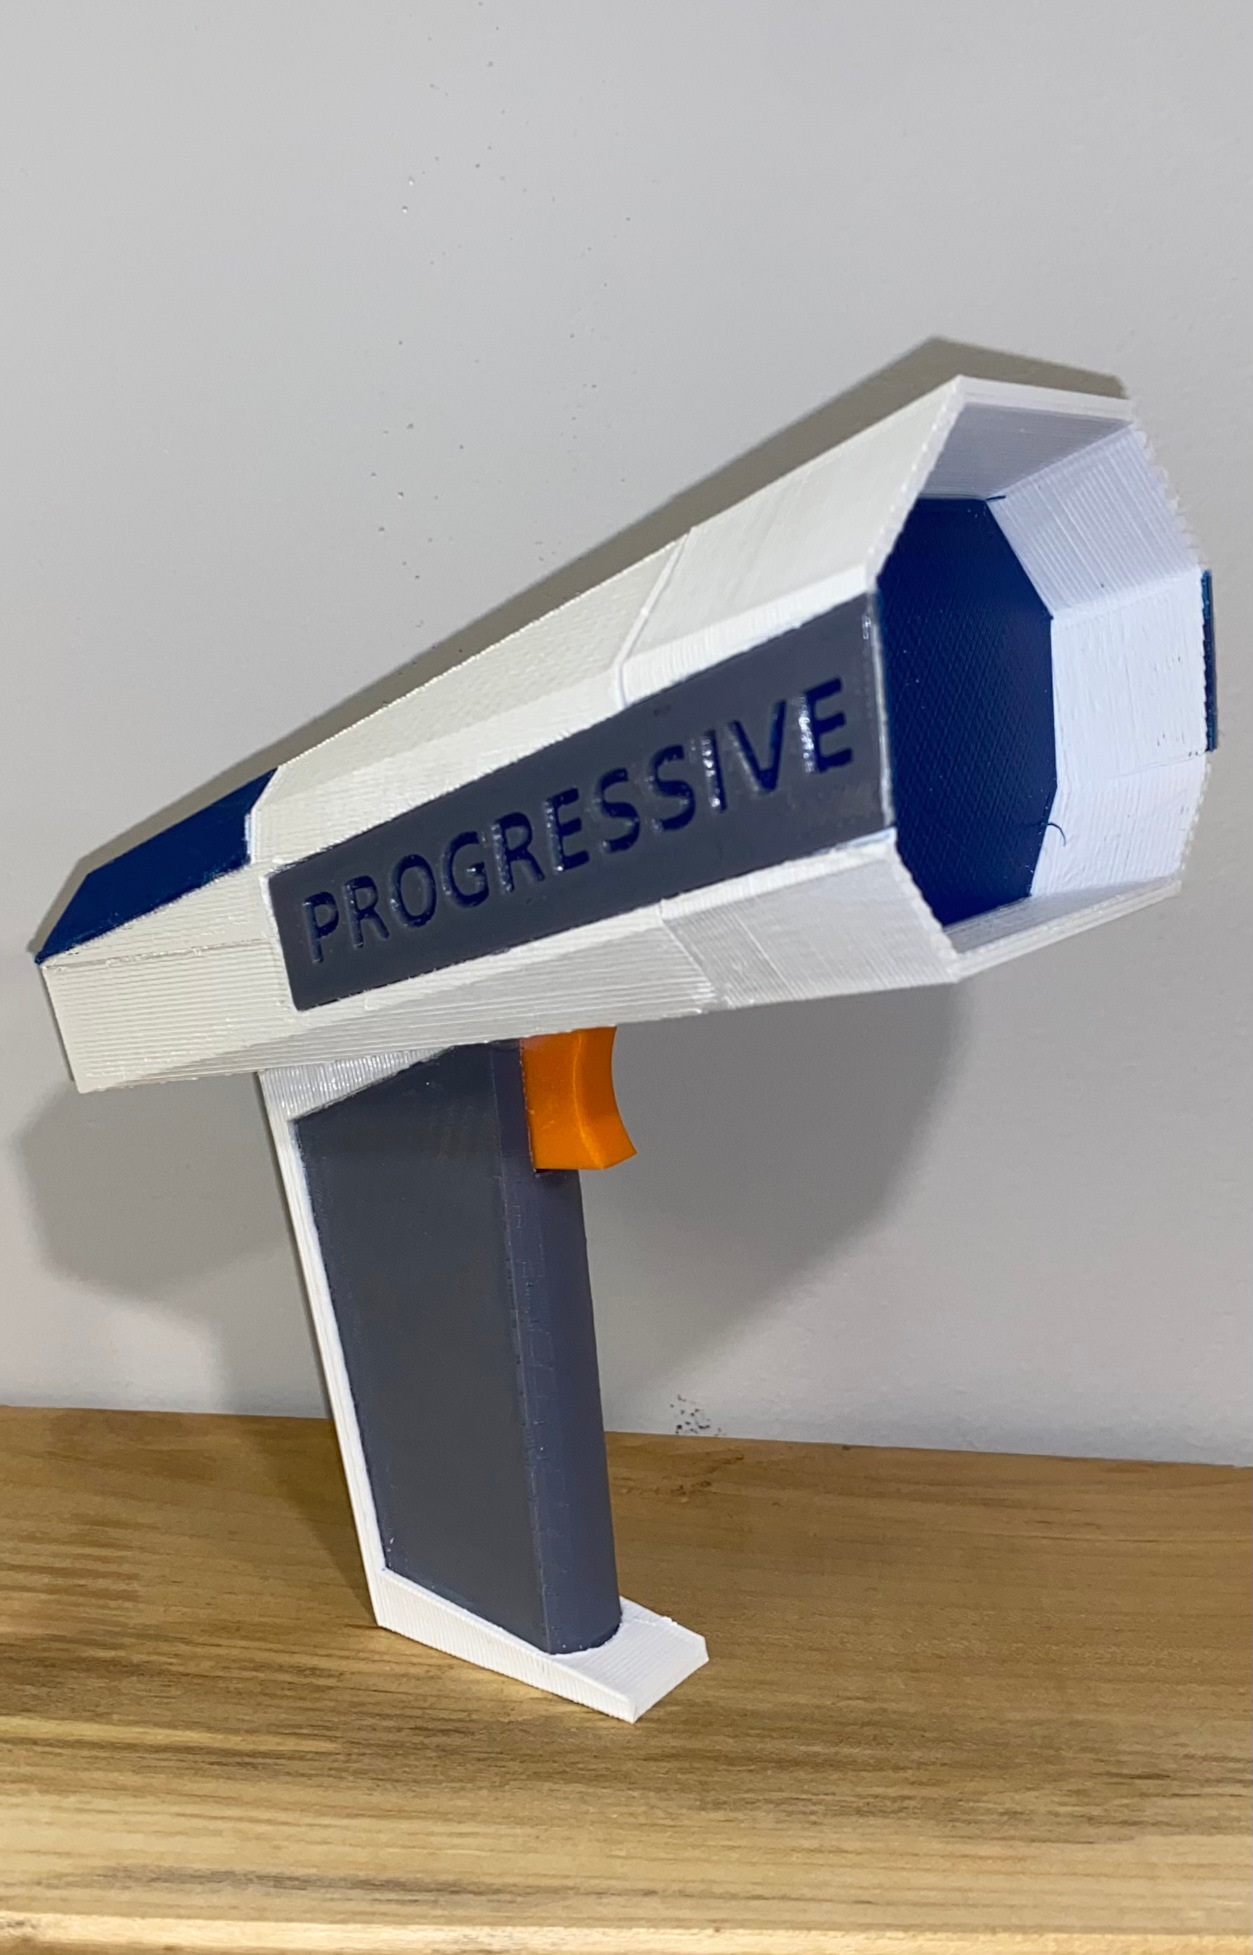
<p>The "Name Your Own Price Gun" is a costume prop for Flo from the Progressive Insurance commercials. It is designed to be printed in four different colors, but you could print and paint instead. It also requires a spring for the trigger. I used a 6mm X 40mm spring from Amazon.</p><p>Print upper and lower with .3mm layers and 10% infill WITH support<br>Print pistol grip with .3mm layers and 65% infill WITH support<br>Print trigger and fcg with .1mm layers and 85% infill WITHOUT support<br>Print shroud with .3mm layers and 10 % infill WITHOUT support<br>Print labels with .2mm layers and 65% infill WITHOUT support</p><p>To stick with the Progressive Insurance color scheme:<br>Parts 1,2,3 & 4 should be printed in white filament. If you want a single piece pistol grip print "z 4and5 alt pistol grip" instead of 4.<br>Parts 5, 6, & 7 should be printed in gray filament. If you want a single piece pistol grip, do not print part 5.<br>Parts 8, 9, 10, & 11 should be printed in blue filament.<br>Parts 12, 13, & 14 should be printed in orange, although 13 and 14 are completely hidden, so it doesn't really matter what color you print them.</p><p>To assemble:<br>PISTOL GRIP AND LOWER:<br>If you are using the two piece pistol grip, Super-Glue the gray inner pistol grip, 5, into the outer white pistol grip, 4. Alternatively, you can skip parts 4 and 5 and use "z 4and5 alt pistol grip" which has both pieces printed as one. Drop the assembled pistol grip into the white lower, 2, and glue in place.</p><p>TRIGGER & FIRE CONTROL GROUP (FCG):<br>Put the orange trigger, 12, into the pistol grip cavity and push it out to the fully extended position. Drop the bottom orange fcg piece, 14, into the pistol grip cavity so that it is all the way at the bottom and against the back of the grip. DO NOT GLUE these pieces if you want a functioning trigger. Place a 6mm X 40mm spring into the hole in the triggger and press it down onto the fcg bottom. It should have a little tension on it. Press the orange fcg top piece, 13, down into the pistol grip housing so that the spring is captured between the fcg top and bottom pieces. squeeze the trigger to ensure it moves freely back and forth.</p><p>UPPER:<br>Place the white upper, 1, onto the assembled lower and glue or screw into place. Use flathead #6 X 1/4 inch thread rolling screws or wood screws if you prefer. (wood screws are not the best for plastics)<br>Attach the white shroud, 3, with the same screws or glue. Glue the blue screen, 11, inside the shroud to cover the screws.<br>Glue the blue cover, 10, onto the back of the upper.</p><p>EMBELLISHMENTS:<br>For the labels, you have a few options: You can just use the gray labels, 6 & 7, and glue in the slots on either side of gun. To be more commercially accurate, first glue in the blue left and right backing pieces, 8 & 9 before gluing on the gray labels, 6 & 7. A third, more complicated option, is to print "z alt left" and "z alt right labels" starting with blue filament and switching to gray once the Z axis gets above .6mm.</p>
With this file you will be able to print Name Your Own Price Gun with your 3D printer. Click on the button and save the file on your computer to work, edit or customize your design. You can also find more 3D designs for printers on Name Your Own Price Gun.