myTimer
prusaprinters
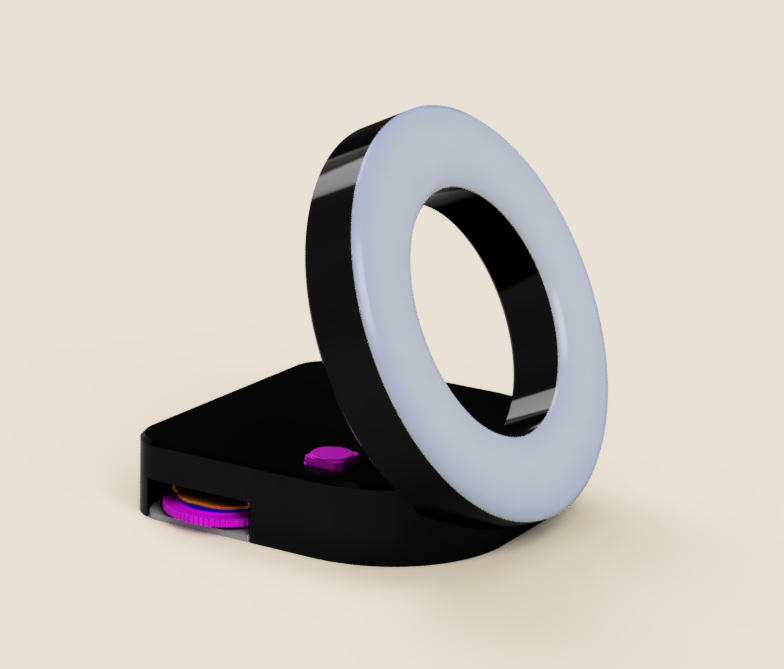
<p>myTimer is a timer counting two (Red and Green) individually adjustable time periods on 16 LED ring. </p><p>I have wished to design a <strong>Pomodoro Timer</strong> for long time already. I get inspired by my friend <i>Josef N</i>. As <a href="https://en.wikipedia.org/wiki/Pomodoro_Technique">wiki</a> describes the Pomodoro Technique is a time management method uses a timer to break down work into intervals,<strong> traditionally 25 minutes in length, separated by 5 minutes breaks</strong>. This technique helps you to maintain your productivity during the whole day.</p><p>Based on input from my friend <i>Joe L.,</i> I decided to add a time interval adjustment feature. After myTimer power-up the time intervals are set to follow pomodoro technique. Red = 25 minutes, Green = 5 minutes. With long button press and potentiometer rotation, user can set time in range 2 minutes to 32 minutes. Every LED represents 2 minutes. Thanks to this feature myTimer can be used in more use-cases (i.e. <strong>sauna ritual, workout, games,…</strong>). Short press of the button switch immediately from Red to Green and vice versa.</p><figure class="media"><oembed url="https://youtu.be/akWo-fWBnAA"></oembed></figure><p><strong>Bill Of Materials:</strong></p><ul><li><a href="https://www.adafruit.com/product/1501">Adafruit Trinket - Mini Microcontroller - 5V</a></li><li><a href="https://www.adafruit.com/product/1463">NeoPixel Ring - 16 x 5050 RGB LED</a></li><li><a href="https://uk.rs-online.com/web/p/tactile-switches/7582041/?sra=pmpn">Tactile Switch</a></li><li><a href="https://uk.rs-online.com/web/p/potentiometers/1548166">Rotary Potentiometer</a></li><li><a href="https://se.rs-online.com/web/p/machine-screws/1795697">M2 x 4 mm screws</a></li></ul><p><strong>Print Instructions:</strong></p><p>myTimer comprises 5 3D printed parts. I printed back and white PLA with layer height 0.2 mm. I recommend to print LED_diffuser and LED_lid in white for the best illumination effect. Only one small support recommended see sliced models. </p><p><strong>Assembly Instructions:</strong></p><p>Due to low base height and limited space, wiring might be challenging. I recommend to keep wire colour code as in schematic. I shot a video of my assembly for your inspiration. Since the printed parts are PLA any supper glue is ok for your assembly. </p><figure class="media"><oembed url="https://youtu.be/eVz5a-S5FaE"></oembed></figure><p><strong>Source Code and FW download:</strong></p><p>Adafruit Trinket 5V is used as a microcontroller of myTimer. I recommend to read through the complete guided tour at <a href="https://learn.adafruit.com/introducing-trinket/introduction">learn.adafruit</a> to understand the limitations. However, it is important to follow at least <a href="https://learn.adafruit.com/introducing-trinket/windows-setup">Win and Arduino IDE setup</a> guide. The myTimer source code is <a href="https://github.com/naKoleniNaGitu/myTimer">here</a>.</p><p><strong>Power supply:</strong></p><p>Please note it is not recommended to power it up from PC/laptop USB port. Prefer USB charger or power bank. Button's input pin is shared with USB data line. It can cause unintended button press events…</p>
With this file you will be able to print myTimer with your 3D printer. Click on the button and save the file on your computer to work, edit or customize your design. You can also find more 3D designs for printers on myTimer.
