My Customized Pulley Customizer Bodged Together
thingiverse
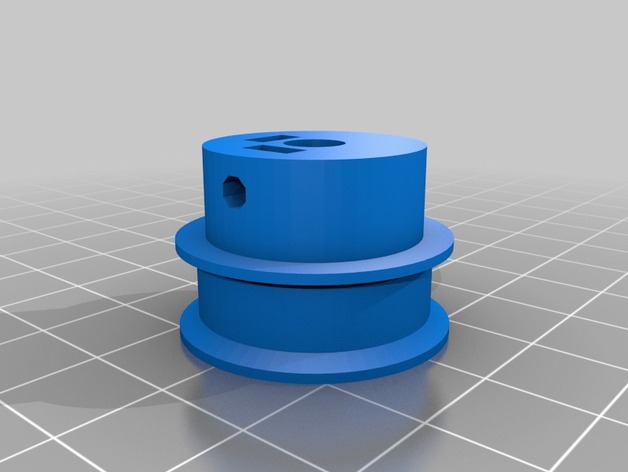
Instructions to Assemble Your Custom Pulley System! To create your own custom pulley system, follow these steps: Select the screw profile that suits your needs: Choose a screw profile of 4. Determine the height of the retainer: Select a retainer height of 1.5. Design the motor shaft diameter: Set the motor shaft diameter to 6. Pick the hole diameter: Opt for a HoleDiameter of 6. Configure the number of teeth: Decide on a number_of_teeth count of 10. Position the screws disposition: Arrange the screws_disposition with a setting of 2. Define the rope diameter: Select a ropeDiameter of 7. Choose the pulley radius: Designate a PulleyRadius of 12. Adjust the nut shaft distance: Set the nut_shaft_distance to 1.2. Customize the length of the toothed part: Specify a toothed_part_length of 5. Configure the belt idler: Select a belt_idler setting of 0. Opt for a custom profile design: Choose a profile of 15. Determine the idler height: Set an idler_height of 1.5. Design the rim width: Opt for a RimWidth of 1. Define the rim height: Choose a RimHeight of 2. Specify the edge thickness: Designate an edgeThickness of 1. Configure the hole clearance: Opt for a HoleClearance of 0.1. Customize the nut shape: Select a nut_shape setting of 1. Design the base diameter: Set a base_diameter of 24. Optimize the pulley diameter: Choose a pulleyDiameter of 24. Configure the belt retainer: Set a belt_retainer value of 0. Finalize with the base height: Set a base_height of 10.
With this file you will be able to print My Customized Pulley Customizer Bodged Together with your 3D printer. Click on the button and save the file on your computer to work, edit or customize your design. You can also find more 3D designs for printers on My Customized Pulley Customizer Bodged Together.