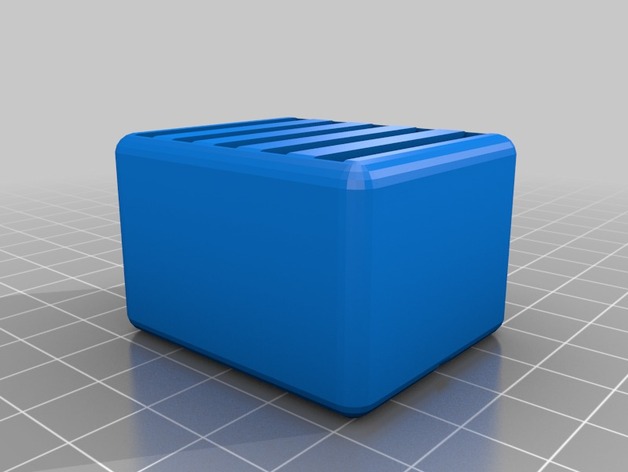
My Customized Nintendo DS Game Card Box
thingiverse
I'm Happy to Help You Create Your Own Custom Playing Card Box. To Get Started, Please Follow These Easy Instructions: 1. Customize the Size of Each Cube (cube_r) by Adjusting the Value from 2 to 10. For Example, Setting It to 3 Will Make Each Cube Slightly Larger. 2. Space Out the Cards with a Gap (card_spacing) Between Them, Ranging from 0 to 20 Units Wide. We've Set Ours to 4 for a Nice Balance. 3. Define the Height of the Gutter (gutter_height), Which Is the Narrow Channel That Separates Each Card from Its Neighbor. You Can Choose a Value Between 1 and 10, with Our Recommendation Being 2. 4. Add Some Extra Room Above the Cards by Increasing the Box Height (box_height_addition). This Will Give You More Space to Work With When Building Your Deck. We've Set Ours to 25 Units High. 5. Decide How Wide Each Gutter Should Be (gutter_width) by Selecting a Number Between 1 and 10. Our Default Value Is 3, Which Provides a Good Balance of Space and Support for the Cards. 6. Determine the Total Number of Cards You Want in Your Deck (number_of_cards). Simply Enter the Desired Amount, and We'll Handle the Rest. For This Example, We've Set Ours to 5. 7. Round Out the Edges with a Smooth Curve by Setting the Number of Faces ($fn) from 3 to 50. Our Recommendation Is 20 for a Classic Look. That's It! Simply Enter Your Preferences and Click "Create" to Get Started on Building Your Custom Playing Card Box.
With this file you will be able to print My Customized Nintendo DS Game Card Box with your 3D printer. Click on the button and save the file on your computer to work, edit or customize your design. You can also find more 3D designs for printers on My Customized Nintendo DS Game Card Box.
