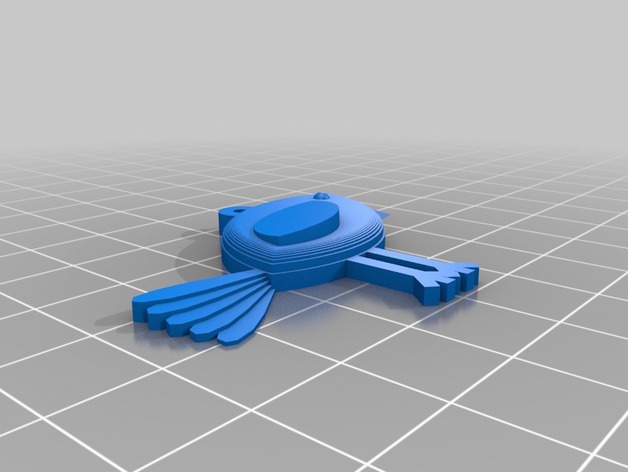
My Customized for the birds
thingiverse
Here is a modified version of the instructions for printing the custom parrot model: Printing Customized Parrot Model To prepare your 3D printer for the customized parrot, follow these simple steps. 1. Check that you have chosen the right beak separation ratio by entering "beak_separation_ratio = 71". 2. Adjust the space between each of the two legs using "legs_spacings = 0". 3. Position each of the four toes at an angle of 78 degrees. 4. Double check that the size of each eye matches with "eye_diameter = 1". 5. Set the total length of each toe to "6". 6. Select a leg diameter of "2". 7. Ensure you are using two legs for this model. 8. Verify your selection for ring orientation is set to "0". 9. Choose a shape setting with an alphanumeric key code "030,015,001,005" - please see list below for the entire string. Custom Shapes Settings These codes are available as an option in some printers. • Shape settings are "050" • Setting "010" adjusts thicknesses and ring thickness • Select "025" to add another level of roundness • Using setting code '067' changes the size of other ring diameter and also adds two new toe lengths, it includes options for the leg tip with length value, number three is legs spacing which we have mentioned in number 4 - 3 above. • Shape code option “007” gives option for more custom body size 10. Ensure that you set your desired print layer thickness by choosing an amount between 0.25 and .75 mm 11. Check your rounding option to make sure it is selected as level two "004". 12. Set your parrot's new body width using the option 'body_thickness = 7' to select custom settings 13. Final check that you're entering a correct outer diameter for this model using ring_outer_diameter with code 15
With this file you will be able to print My Customized for the birds with your 3D printer. Click on the button and save the file on your computer to work, edit or customize your design. You can also find more 3D designs for printers on My Customized for the birds.
