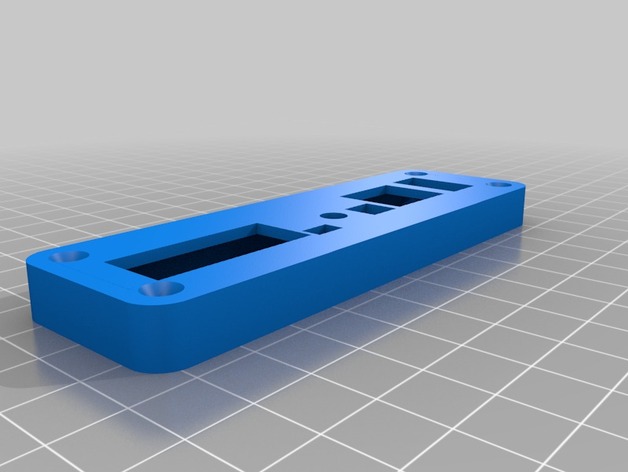
My Customized face plate: front
thingiverse
Customized version of http://www.thingiverse.com/thing:715347 Created with Customizer! http://www.thingiverse.com/apps/customizer/run?thing_id=715347 Instructions Using the following settings: Vertical Offset on button set to default value of 0 units. RJ45 module is centered horizontally at its mounting point with an offset of 0 units. Audio input socket is placed with a horizontal offset of 0 units from its standard position. Lid filler is selected, ensuring it is full. Offset values for second antenna module are set as follows: Horizontal Offset = False Vertical Offset = Not active Offsets for USB and VGA sockets are adjusted as needed. Current Horizontal Offsets are set to zero: RJ45, Audio, USB and VGA units. Default Vertical distance of 8.5 units separates the components. Component positioning ensures a precise fit with an allowance of 0.25 unit. Following offset adjustments are inactive for third antenna module: Horizontal Offset Vertical Offset Height and width dimensions of faceplate have been established: 104 by 31 units respectively. Button, first antenna, RJ45, USB and VGA vertical positions set to default or user adjusted offsets. Button is centered on plate with a horizontal offset of zero. Plating fits snugly due to an allowance factor of 0.25 units. Other key settings include: LED socket vertical and horizontal placement adjusted for ideal performance. Audio input module placed within the designated space vertically without an offset. LED positioning parameters not applied or set. VGA Vertical Position set at standard, 0 units away from base mount. Settings on faceplate dimensions are optimal with 104 unit width.
With this file you will be able to print My Customized face plate: front with your 3D printer. Click on the button and save the file on your computer to work, edit or customize your design. You can also find more 3D designs for printers on My Customized face plate: front.
