My Customized Cuff & Collar customizer
thingiverse
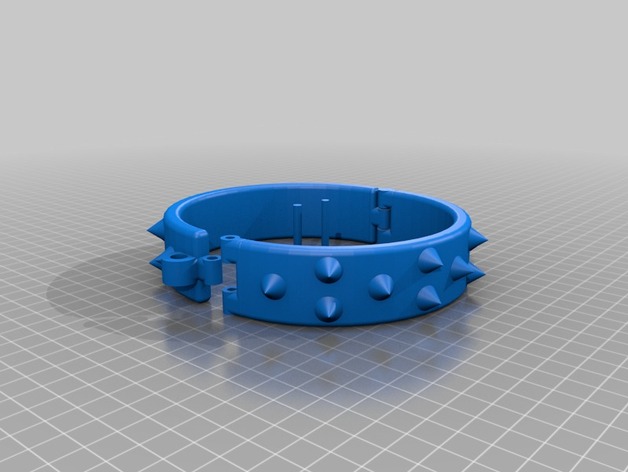
Instructions Using the following options: * gDemoSteps = 10: Steps for a demo version are predefined at 10. * Back_Inscription = Pet: The back of the product bears an inscription that reads "Pet." * Locking_Pin_Head_Size = 3: The locking pin's head is sized to be 3 units. * Accent_Style = 2: The style for accentuation is chosen to be 2 units. * Attachment_Style = 10: Attachment options are chosen to include style number 10. * build_plate_selector = 0: No specific plate selection is made, the default value being zero. * font = write/knewave.dxf: The text will use the font from file "write" known as knewave in dxf format. * Print_Parts = 1: A single print part option has been selected. * Attachment_Bracket = 2: Bracket attachment style is selected to be type two. * Studs_Style = 2: The stud style chosen for this design is number 2. * gDemoHeight = 20: A default demo height value of twenty units has been predefined. * Cuff_Width = 30: The width for cuff size will be thirty units. * build_plate_manual_y = 120: On a manually adjusted plate, y-coordinates will have a default setting at one-twenty units. * build_plate_manual_x = 120: Similarly on an individually set manual plate the x-coordinate of this device is 1-20. * Front_Inscription = My: The front face or face with which users are interacting has an inscription that reads "My". * Attachment_Hole_Size = 7: Hole attachment options are being utilized in combination with size selection equal to seven units for the device.
With this file you will be able to print My Customized Cuff & Collar customizer with your 3D printer. Click on the button and save the file on your computer to work, edit or customize your design. You can also find more 3D designs for printers on My Customized Cuff & Collar customizer.