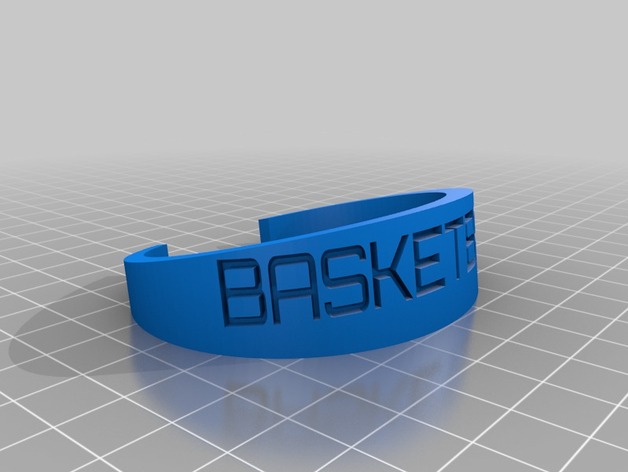
My Customized Bracelet
thingiverse
Here's how I customized the design: I started with a template from Thingiverse: http://www.thingiverse.com/thing:52295. Next, I made my adjustments using their Customizer tool at: http://www.thingiverse.com/apps/customizer/run?thing_id=52295. Now that we're on to it, let's get started! We're building a unique accessory, and I'll be giving you step-by-step instructions. Below are the custom options I've chosen: 1. Thickness at the bottom is set to 3mm. 2. I selected the default build plate as my preferred choice. This might impact print speed somewhat. 3. The top width will be exactly 20 mm in length when complete, based on specifications provided. 4. At this moment, our accessory will possess a total surface area equivalent to about .25 units square on all sides since this setting defines bottom width currently available. 5. "BASKETBALL" was chosen as the engraved or embossed text style using font write/orbitron.dxf (font height set to 10 points). 6. Embossing/Engraving feature activated. 7. Bracelet Size is selected as standard with diameter size 62 mm
With this file you will be able to print My Customized Bracelet with your 3D printer. Click on the button and save the file on your computer to work, edit or customize your design. You can also find more 3D designs for printers on My Customized Bracelet.
