My Bright Desk Light
prusaprinters
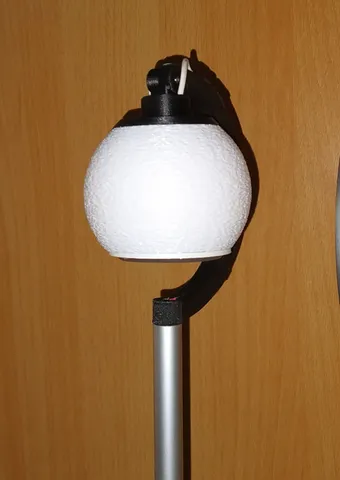
I made this desk light as a little weekend project.News:see a second shade here: https://www.printables.com/de/model/177634-spherical-shade-for-my-bright-desk-lightan uplight mount is available here: https://www.printables.com/de/model/178086-uplight-mount-for-my-bright-desk-light-deckenflute You'll need:No.Pcs.Description11GU4 Ceramic Socket, 17mm outer Diameter10mm high, see photo22-3Screw M2.5x1231Aluminum tube 12mm outer Diameter, 1mm wall, length to your liking41some wire 2x0.4²mm51LED power supply / wall plug, 12 V, wattage should fit your choice of LED61LED bulb, Socket G4, GU4 or GU5.3, wattage to your choice7 some concrete or plaster to fill the base (for weight / stability)83Felt or rubber pads, approx. 30mm diameter or similar Printing is pretty straightforward:I used PETG, 0.4mm nozzle and 0.2mm layer height.You may print the shades transparent or opaque, to your liking, Prusament PVB gives sweet transparent shades. You may enable “Fuzzy surface” in PrusaSlicer for the shade, too.print the Base in normal orientation. Paint some custom support inside, not too much, so it can be easily removed.print the Nut with the slots on topprint the Socket Mount thread down. Paint some custom support around the outer edge and some in the center.print the Top Mount on the right side with support enabled - see image.the Shade can be printed upside down in vase modeAnd for your convenience, I added a 3mf file with the main parts including manual support, and gcode for the Prusa Mini for generic PLA and generic PETG.You only need to slice the shade. Assembly is not much worse:First - fill the two large pockets in the base with concrete. Make it flush. This will give the base enough weight for stability.Then decide on how long your aluminum tube should be. I used a very bright 8W led and made it one meter long, so it brightens my whole desk very pleasantly.Cut the tube to your desired length and remove sharp edges.Put the G4 socket inside the mount and secure it with one or two screws M2.5x12Fix the socket mount to the top mount with one screw M2.5x12.Thread your wire through the aluminum tube, the downside hole in the top mount and along the wire guides at the back of the top mount.Cut the wires coming from the socket accordingly and weld them to your wire. Put on some shrink tubing for protection - see photo.Fix the shade to the Socket mount using the printed nut.Thread the lower end of the wire through the base and put the aluminum tube into the base.Now attach your power supply to the loose wire ends and stick the felt/rubber pads under the base to avoid scratching your desktop surface. And that's it! Enjoy your personal MyBrightDesktopLight - and if you like it, say “thanks”, post a make or consider making a donation to motivate me ;-)
With this file you will be able to print My Bright Desk Light with your 3D printer. Click on the button and save the file on your computer to work, edit or customize your design. You can also find more 3D designs for printers on My Bright Desk Light.