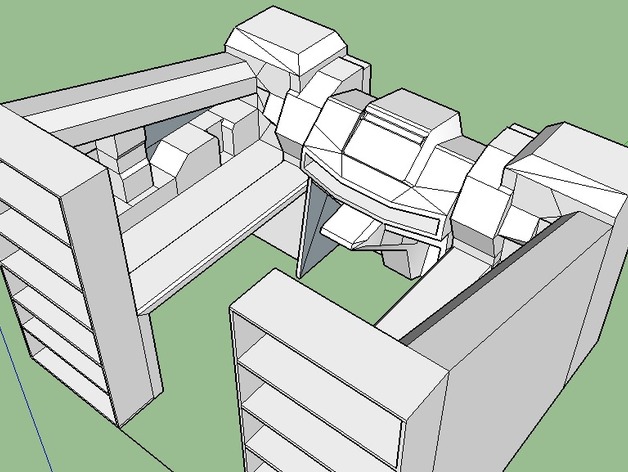

MWO cicada cockpit
thingiverse
I cleaned up all the polygons so the design can be printed from plywood easily. The included PDO file features a paper size closely matched to the dimensions of plywood sheets - a single sheet is capable of covering both sides of nine panels at once. A limitation of Pepakura means the longest possible print length is 2000 mm, while standard plywood sheets measure approximately 2400 mm in length; consequently, users will require fifteen inches by four feet of leftover material from each panel for any adjustments. I apologize for this drawback. The center console model has been uploaded and can be constructed separately if users prefer to avoid building the entire cockpit. Three and a half sheets of plywood are necessary for its production. Below you'll find step-by-step instructions on how to bring this design to life: 1. Load the project into Pepakura. 2. You have two printing options: use a wide-format printer or cut the parts out from plywood sheets individually before assembling them. As for adding interactivity, I plan to utilize arcade machine buttons sourced from Amazon along with various switches for connecting the desired functionality to USB controllers through a wired setup. Using my repurposed Xbox controllers - modified to use USB ports and controlled by XBMC software paired with JoyToKey application - users can customize any button or key input to fit their needs perfectly. In exchange for their hard work, I'd greatly appreciate seeing photographs of the finished cockpit model in action.

With this file you will be able to print MWO cicada cockpit with your 3D printer. Click on the button and save the file on your computer to work, edit or customize your design. You can also find more 3D designs for printers on MWO cicada cockpit.
