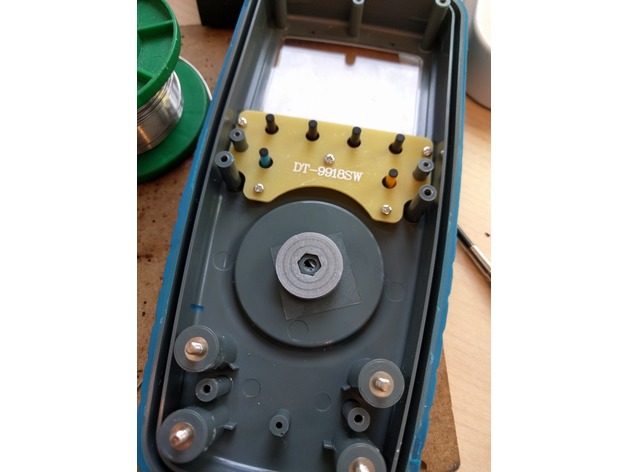
Multimetrix DMM220 rotary switch fix ring
thingiverse
I designed a small replacement part for the rotary switch on my DMM220 multimeter after its original broke. If you're experiencing the same problem, follow these steps: 1. Open up your multimeter and locate the PCB. 2. Carefully remove it from the housing to access the faulty switch. 3. Mark both the new part and the enclosure so you can correctly orient them. 4. Remove the broken switch and clean the area around it. 5. Slide the ring over the hexagonal shaft of the rotary knob, leaving a small gap. 6. Apply glue to one side of the ring and make sure it's secure. 7. Press the other part of the enclosure into place, ensuring everything is aligned properly. 8. Allow the glue to dry completely before testing your newly repaired multimeter. 9. Once you've confirmed the switch is working correctly, reassemble your DMM220. 10. Now that your multimeter is fixed, it's time to take on the world and conquer all its technical challenges!
With this file you will be able to print Multimetrix DMM220 rotary switch fix ring with your 3D printer. Click on the button and save the file on your computer to work, edit or customize your design. You can also find more 3D designs for printers on Multimetrix DMM220 rotary switch fix ring.
