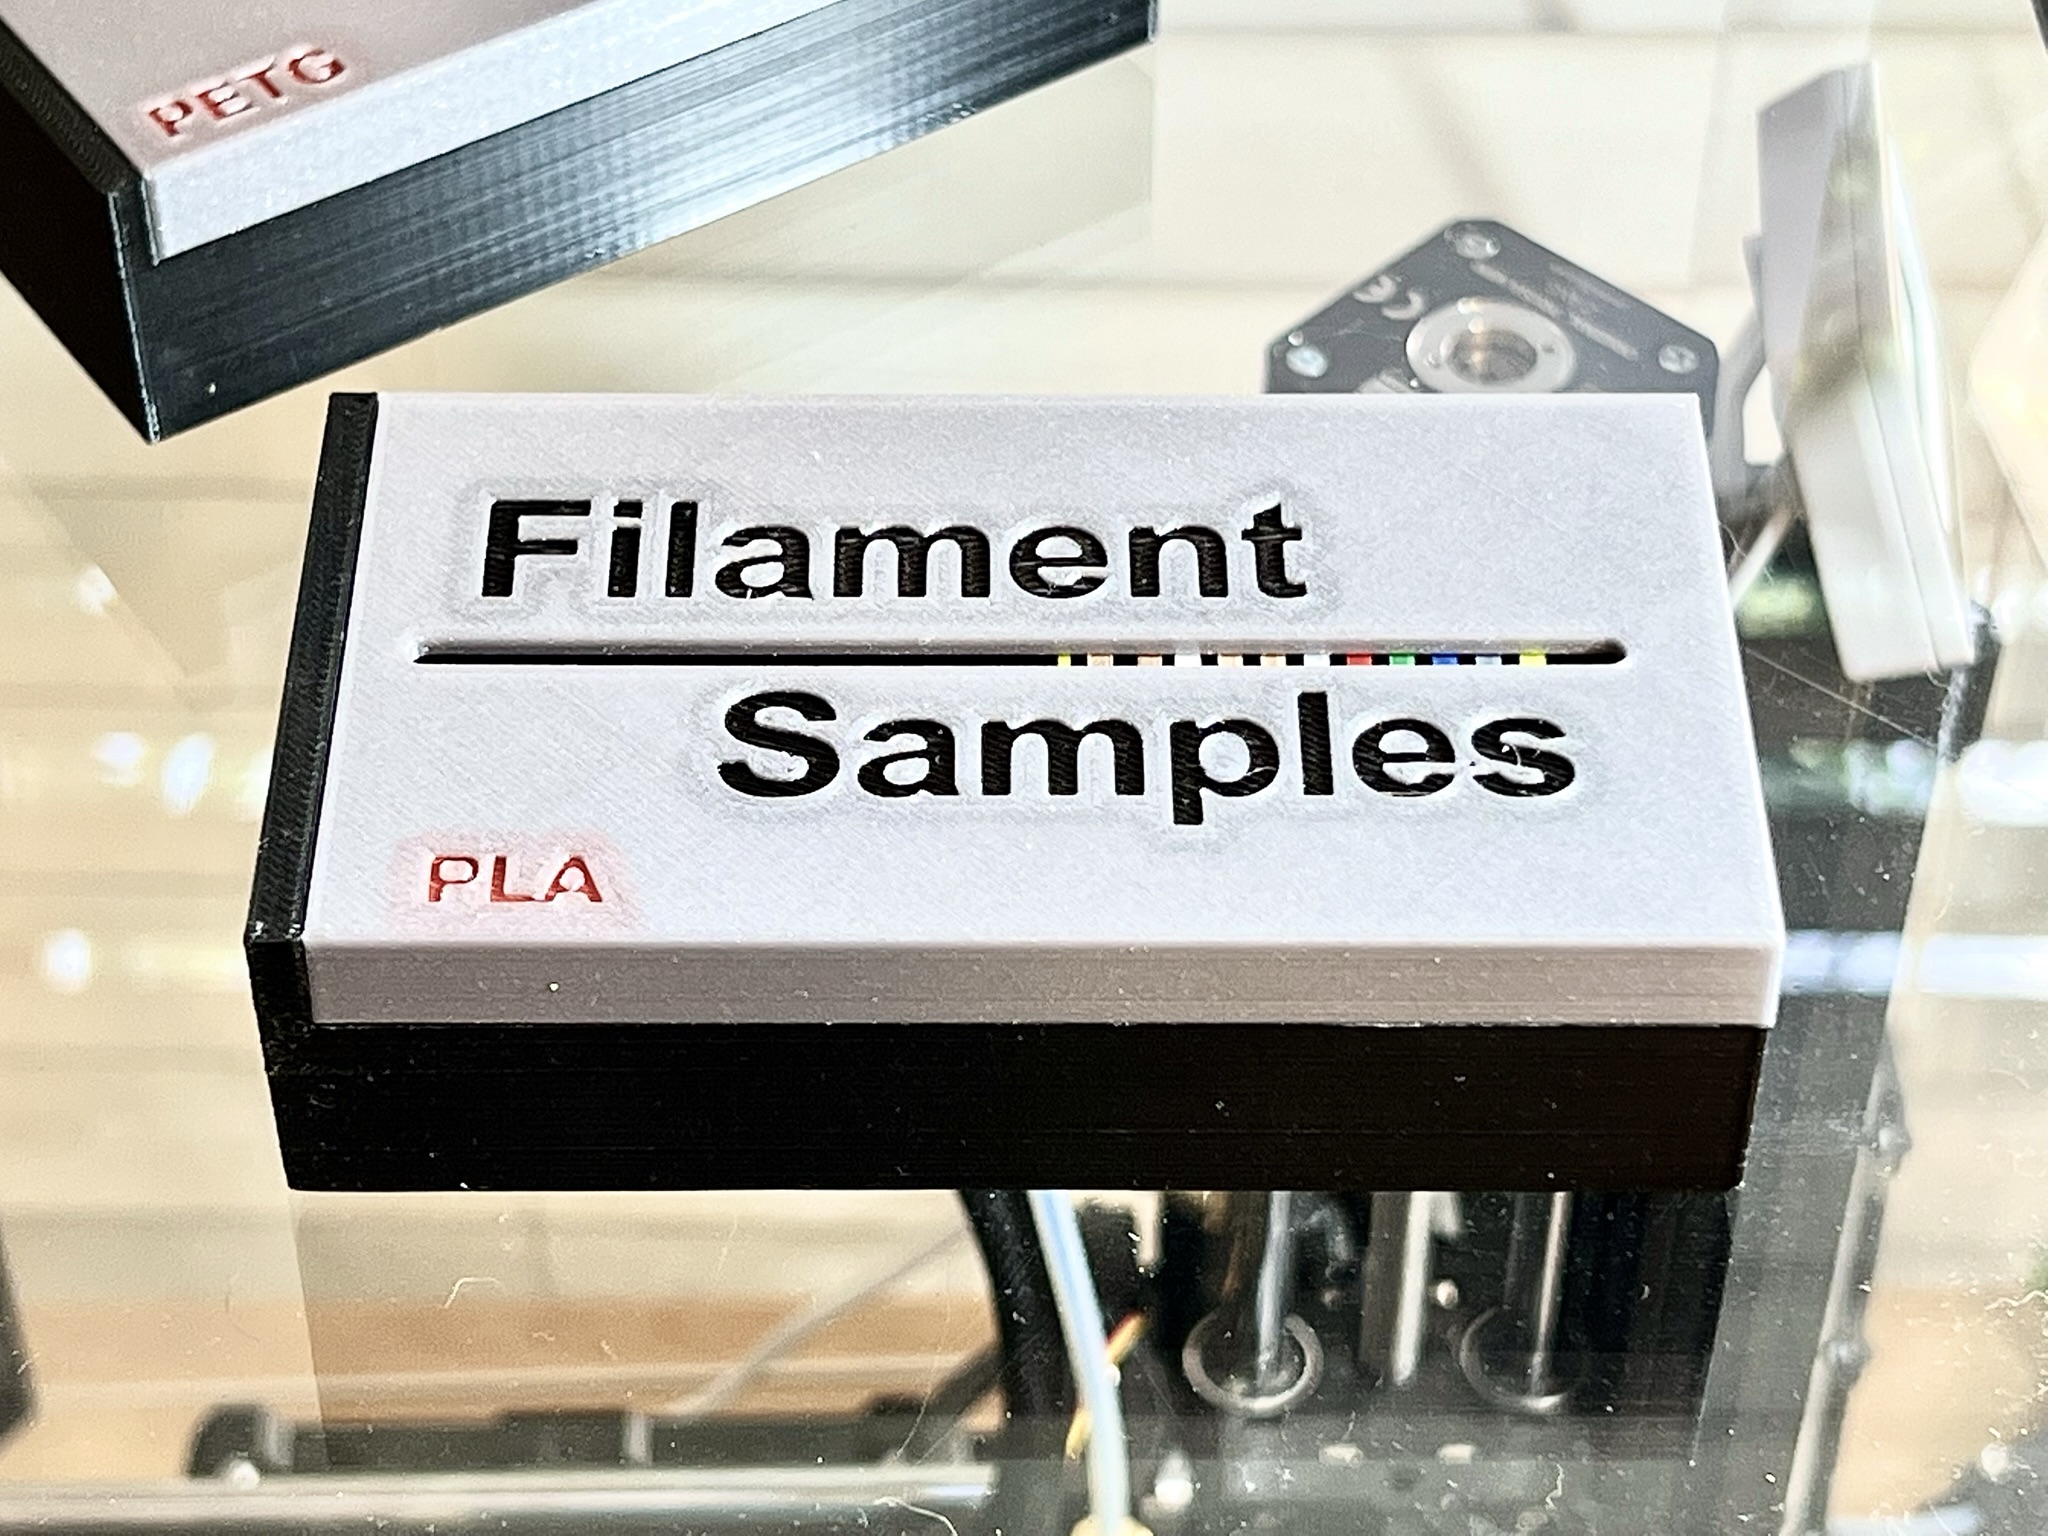
Multi-Color Filament Sample Box and Cards
prusaprinters
<p>A simple filament swatch and storage box - they're a dime a dozen! So what makes this one different? </p><ol><li>The lids have a satisfying slide and lock (via magnets) function so they don't come off accidently.</li><li>The lids have multiple colors for the body, “Filament Sample” text, and “Type” text! Just use the provided GCODE and be ready to swap filament (instructions below).</li><li>The swatches are simple and provide all the information you'll need - see photos for details.</li></ol><p> </p><h3>Multi-Colored Lids</h3><figure class="image image-style-align-center image_resized" style="width:49.83%;"><img src="https://media.printables.com/media/prints/269910/rich_content/e251d44f-929c-46a8-9a1c-27a058921236/image.png#%7B%22uuid%22%3A%2270d4b238-ae6e-40cd-bd59-5f9cd08441d8%22%2C%22w%22%3A863%2C%22h%22%3A500%7D"></figure><p>The GCODE provided for the lids has manually added M600 commands to perform filament color changes to create the above look. <i><strong>If you do not want this effect, you need to use the STL files and slice the models yourself!</strong></i></p><p> </p><h4><strong>Instructions </strong></h4><p>Both the PLA and PETG lids have the same <strong>five </strong>total color changes - and they happen in quick succession so be ready!</p><p>Using the example above, the order you'll change them in is: </p><ol><li>Begin with Silver (body)</li><li>Color Change 1: Black ("Filament")</li><li>Color Change 2: Red ("PLA")</li><li>Color Change 3: Silver (a bit of the body)</li><li>Color Change 4: Black ("Samples")</li><li>Color Change 5: Silver (back to body color for remainder of print)</li></ol><h3>Magnetized Closure</h3><figure class="image image-style-align-center image_resized" style="width:31.07%;"><img src="https://media.printables.com/media/prints/269910/rich_content/3a7499df-3f83-4231-9753-a18ddb5001b7/image.png#%7B%22uuid%22%3A%221687a716-0217-429b-b5cd-e061fda9db5c%22%2C%22w%22%3A749%2C%22h%22%3A733%7D"></figure><p>Two 8x3mm magnets are use to secure the lid to the body. These aren't required, but give the assembly a quality, satisfying, and secure closure. </p><p>Simply push these into place after printing - make sure the polarity is correct!</p><p> </p><h3>Fit and Function Tip</h3><p>The lid/body sliding action will be rough and gritty fresh off the printer and after the support from the body and lid is removed. Simply slide the lid rapidly on the body (or use sand paper to speed the process up) and everything will smooth out nicely. My containers are now super smooth after a bit of use!</p>
With this file you will be able to print Multi-Color Filament Sample Box and Cards with your 3D printer. Click on the button and save the file on your computer to work, edit or customize your design. You can also find more 3D designs for printers on Multi-Color Filament Sample Box and Cards.
