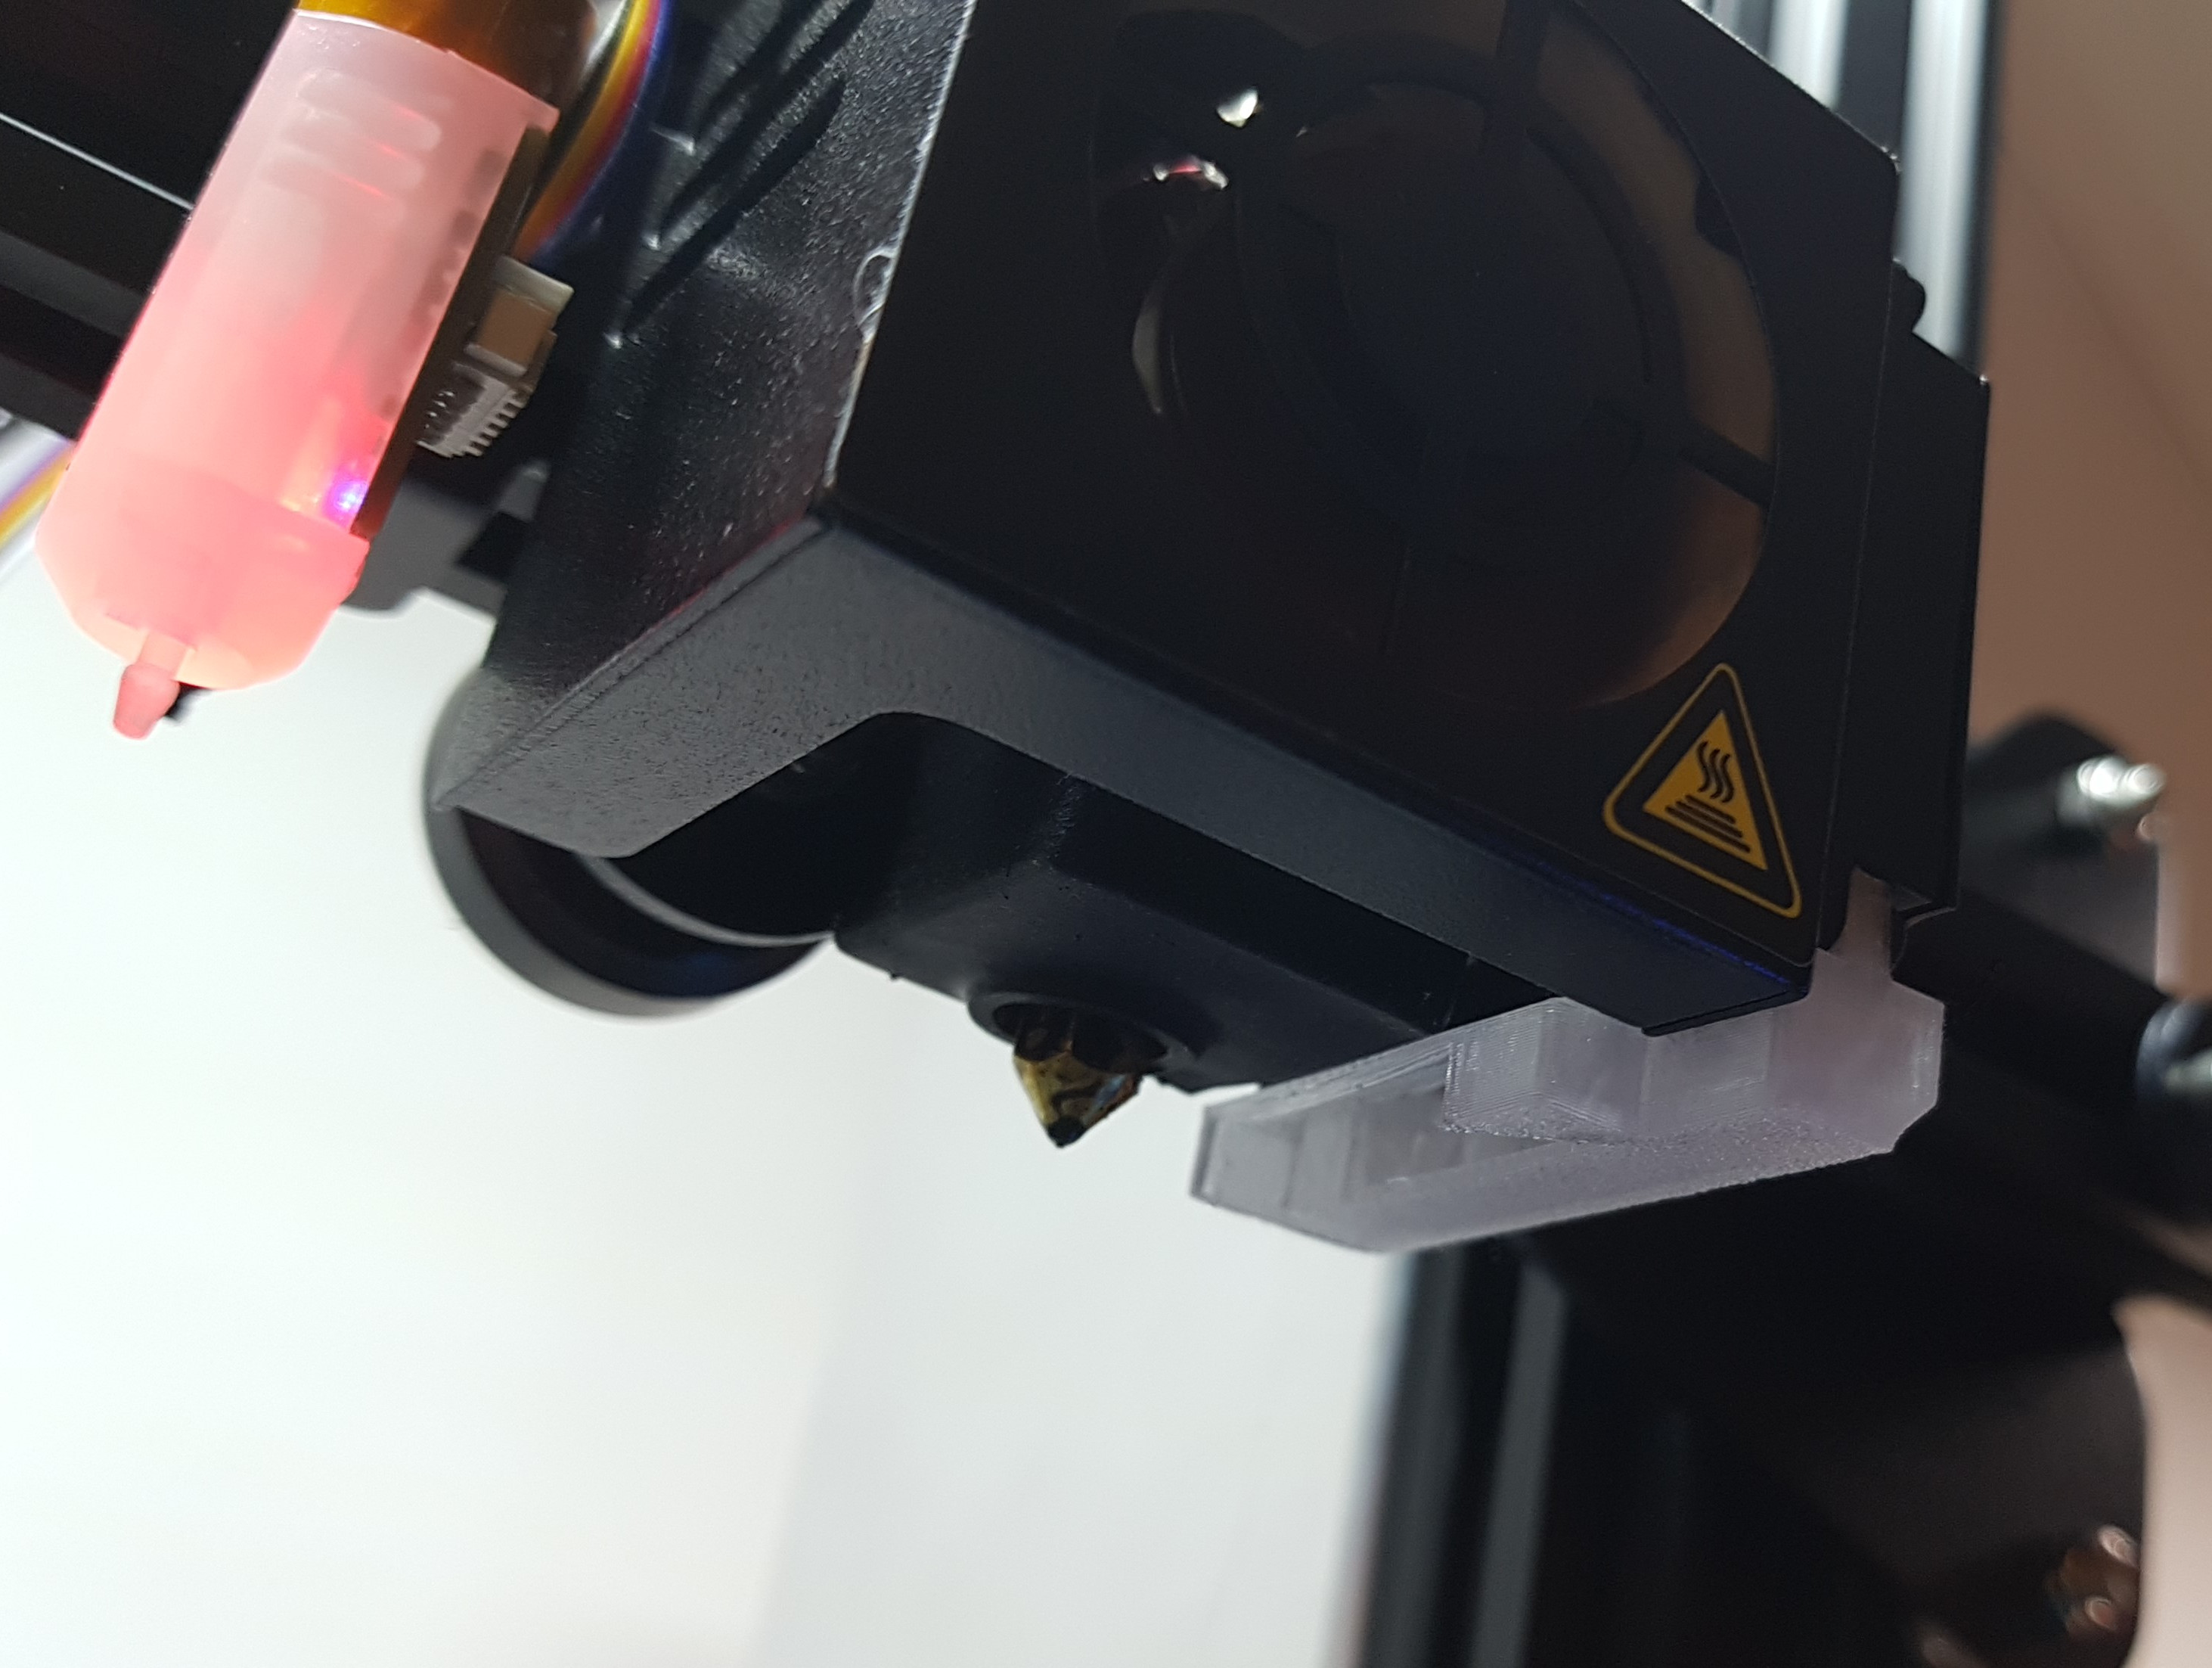
Much improved Ender3Pro fan duct (drop-in compatible)
prusaprinters
<p>This very easy print can be swapped into the Ender3Pro within one minute and improves the part cooling capabilities very significantly without the need for a new fan.</p><p>There are numerous highly respected YouTubers out there that have shown that it does not make a difference on the Ender3(Pro) if the part cooling fan is running or not. And as a matter of fact, I can confirm that the hot-end cooling fan is actually blowing more air on the printed part around the heater block, than the actual part cooling fan is able to do.</p><p>Now there are several monstrous upgrades proposed for the Ender3Pro that add one or more larger fans to the print head, together with huge fan ducts. While I have no doubt that these cool looking upgrades do a great job, I would challenge the need for such significant changes, that not everyone would feel comfortable with.</p><p>I have analysed the original fan duct and found that it leaves a lot to be desired, to say the very least. Being a respectful person and an industrial engineers myself, I hate to say negative things about other peoples work. But seriously Creality guys, is that the best you could do? Your fan duct is simply much too short (does not reach low enough, towards the print bed), so it's outlet is blocked partly and the portion that is not blocked is only blowing on the upper part of the heater block (actually on the silicon sock).</p><p>The actual air stream toward the printed part at the tip of the nozzle is basically too small to be measurable. I have built myself a pitot tube connected to a barometric sensor (BMP280) on an Arduino Nano and measured air speeds of maybe 1-2 m/s from the part cooling fan, if at all (it's very hard to measure such low air speeds with a pitot tube, as the pressure changes with the square of the air speed, according to Bernoullis law).</p><p>With this new fan duct, I was able to measure 5-6 m/s exactly at the tip of the nozzle. I could also show a significant improvement in print quality on a part that is particularity challenging to print. An easier test would be to hold your wet finger tip to the (cold!!!) nozzle while the part cooling fan is running (gcode: M106 S255). You will clearly feel the airflow cooling your finger. [Again, don't do this while the nozzle is hot, you will burn your finger!]</p><p>If you have an Ender3Pro, I encourage you to print this part, which takes only 32 minutes to print, and try it out with the following benchmark part. I would never want to swap back to the original fan duct, once I had seen the difference. I'd be highly interested to learn if you can confirm my findings.</p><p><a href="https://www.prusaprinters.org/prints/49597-cruel-part-cooling-benchmark">https://www.prusaprinters.org/prints/49597-cruel-part-cooling-benchmark</a></p><p>I'm not claiming to reach the same amount of part cooling that may be possible with the much more complex upgrades, but in terms of value to effort ratio, I'd say this part is something that every Ender3Pro owner should at least give a try.</p><p>Take care everyone, look out for yourself and for others and let's do our best until we have finally defeated this pandemic!</p><h3>Print instructions</h3><p>This part is very easy to print, with no supports needed. The overhang at the sideways outlet of the duct may look a bit scary without supports, but it was not a problem at all for my PursaMini to print this part just like that.</p><p>Due to the proximity of the duct to the hot heater block, PLA will probably not be appropriate but PETG works without troubles whatsoever for me. I would guess that ASA would probably be even better, but for me was not needed (assuming that you have your silicon sock on the heater block, which shields the fan duct from most of the heat).</p><p>Once you are done printing, simply remove the lower two screws from your Ender3Pro part cooling fan (the one on the right side of the print head), pull the original fan duct out and plug the new one in from below. Reattach the two screws and you are done. Happy printing with much better part cooling!</p><p> </p><p><strong>License:</strong></p><p>The license does not allow derivatives, as one of my designs was “taken” from me in the past to collect donations on Thingiverse via a “Remix”, that did not add any significant value. That made me really sad. If you want to seriously remix this design, please contact me and I will gladly approve that.</p>
With this file you will be able to print Much improved Ender3Pro fan duct (drop-in compatible) with your 3D printer. Click on the button and save the file on your computer to work, edit or customize your design. You can also find more 3D designs for printers on Much improved Ender3Pro fan duct (drop-in compatible).
