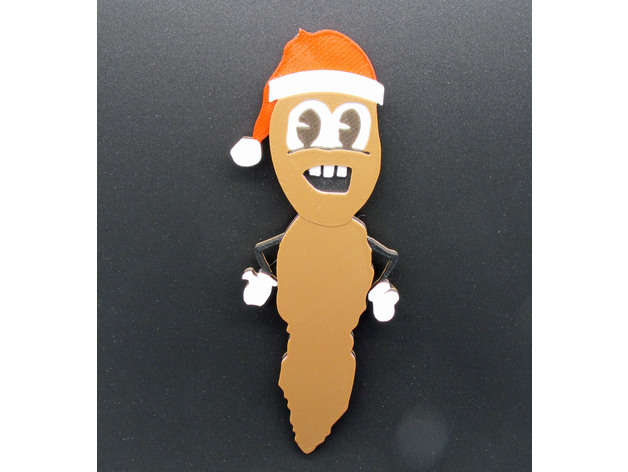
Mr. Hankey using Prusa ColorPrint
thingiverse
Mr. Hankey was directly inspired by the Mr. Hankey that Chaos Core Tech's Garrett designed during his December Prints Series. Garrett truly excelled on this model. His work can be found at http://www.thingiverse.com/thing:1996848. I've always been a fan of Mr. Hankey, and I couldn't wait to print my own version. After printing it, I began thinking about using the Prusa ColorPrint program to make Mr. Hankey in four colors without needing any paint. To use the Prusa ColorPrint program, I first had to redraw Mr. Hankey to adapt him to the new program's requirements. The Prusa ColorPrint program allows you to change filaments at various print heights and automates most of the process of changing the filament. Print Settings: Printer: Original Prusa I3 MK2 Rafts: No Supports: No Resolution: 0.2 mm Infill: 30% Notes: Mr. Hankey is printed on the Original Prusa I3 Mk2. The filaments used were Maker Geeks PLA for the White, Red, and Black colors, as well as Sun PLA+ for the brown color. Siomplify3D was the slicer program used. Prusa ColorPrint was the additional program used to control layer heights and color changes. Here are the specific settings used: Layer #1: Brown color, 1.0 mm layer height, change at 1.0 mm Layer #2: Black color, 1.0 mm layer height, change at 2.0 mm Layer #3: Red color, 0.6 mm layer height, change at 3.6 mm Layer #4: White color, 0.8 mm layer height, change at 4.4 mm Layer #5: Black color, 0.4 mm layer height, change at 4.8 mm Layer #6: Brown color, 0.8 mm layer height, final color
With this file you will be able to print Mr. Hankey using Prusa ColorPrint with your 3D printer. Click on the button and save the file on your computer to work, edit or customize your design. You can also find more 3D designs for printers on Mr. Hankey using Prusa ColorPrint.
