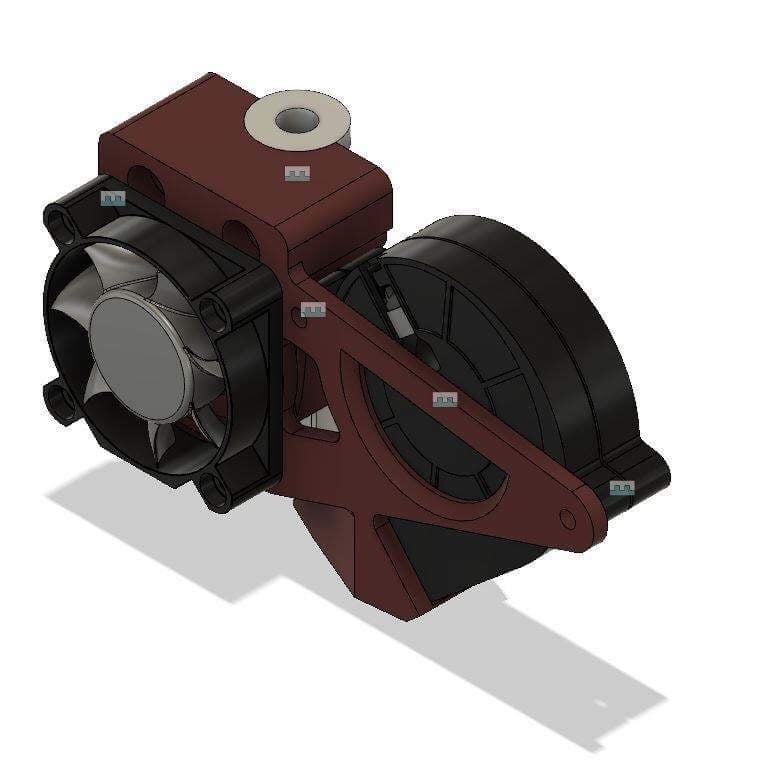
mpsm zero offset v6 5015 and 40mm fans
thingiverse
This is a remix of three items, thanks to the designers of those. The dual fan - https://www.thingiverse.com/thing:2722203, the zero offset mount - https://www.thingiverse.com/thing:3126327, and the fan adapter - https://www.thingiverse.com/thing:21112. I was searching for a zero offset mount for the MPSM V1 that featured a dual fan setup using a 40mm noctura fan and a 5015 blower for the layer fan. I also didn't want to assemble numerous parts as they tend to protrude quite far, this one does not protrude any further than necessary. UPDATE 1/12/19 I wasn't satisfied with how V1&2 printed (tons of support which made it a really ugly print) so I hired MakersMic https://www.youtube.com/channel/UC0p15glF3ELOnJLwoOoltUg, who is an awesome designer to fix the issues I had with the design. I would say the new design is exactly what I envisioned in my head. The new design eliminated the need for almost all supports except a few inside the duct, ensured that all the holes fit, and adjusted the length of the duct so that it blows perfectly on the tip of the nozzle. A few recommendations: I am utilizing the 12v noctura 40x20 fan for the heatsync fan and a 24v 5015 layer fan (I didn’t have a 12v 5015 on hand). Due to this, I had to install a step up converter and speed controller potentiometer which is very easy to do (just wire it inline). I also had to rewire the fan(s) on the printer. I wired the layer fan directly to the power from the PSU on the board and the 5015 to where the original fan was on the board. The way I wired those two things to the 5015 is by putting the step up buck converter and then the speed controller inline to the fan. Doing it this way gave me PWM control of the layer fan (the firmware in the printer doesn't do a good job of controlling it so I have the option of controlling it manually now). I am linking the items below. Also, all of the holes except the ones that attach the fan mount to the offset bracket are undersized. This way you can either tap them with an M3 tap or melt in a threaded insert. I did have to pay to get this designed and it wasn't cheap, so if you want to help out and tip, please do so. If you make and use the design, please post a make. Step up buck converter Look what I found on AliExpress https://s.click.aliexpress.com/e/bIjxyhRS 5015 fan Look what I found on AliExpress https://s.click.aliexpress.com/e/b343osi8 Speed controller Look what I found on AliExpress https://s.click.aliexpress.com/e/cTgGOFZA Noctura fan (you won't regret buying this almost silent fan) https://www.amazon.com/Noctua-NF-A4x20-PWM-Premium-Quality-Quiet/dp/B071W93333/ref=sr_1_1_sspa?s=electronics&ie=UTF8&qid=1547299759&sr=1-1-spons&keywords=noctura+40mm+x+20mm&psc=1 UPDATE 01/04/19 I made the holes for the socket head on the M3 nuts larger so that the socket head will fit inside the blower mount. I also trimmed some material off of the side to allow for better airflow and cooling of the V6
With this file you will be able to print mpsm zero offset v6 5015 and 40mm fans with your 3D printer. Click on the button and save the file on your computer to work, edit or customize your design. You can also find more 3D designs for printers on mpsm zero offset v6 5015 and 40mm fans .