MPCNC Cut Rigid Z Mod
thingiverse
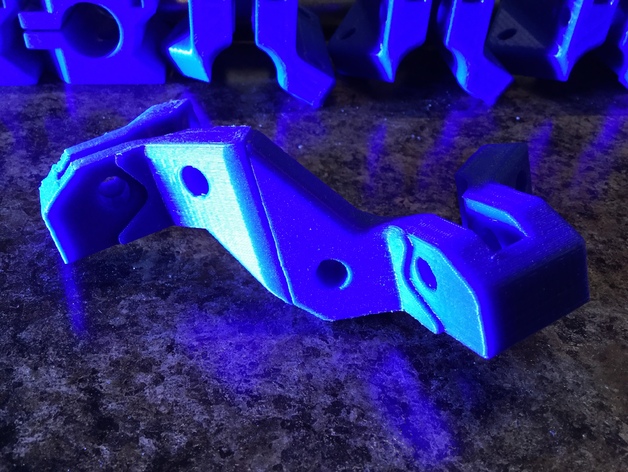
This is a remix of Mostly Printed CNC -Add On- Better Middle Z by Allted http://www.thingiverse.com/thing:931550 This part was slightly oversized for my PrintrBot Simple (wood version) with a 100mm x 100mm x 100mm print space. The solution was to cut it down the middle and add two pins for alignment. I then superglued the halves together. My MPCNC has been functioning smoothly for several months now, successfully cutting materials such as MDF, Acrylic, Aluminum, and even two-sided PCBs. If your printer bed can accommodate the full part size, it's recommended to use Allted's original design linked above. In this STL file, all parts are arranged within the print space with no need for support structures. I've also included the 123D file used in my project. Print Settings Printer Brand: Printrbot Printer: Simple Maker's Edition (1405) Rafts: No Supports: No Resolution: 0.2 mm Infill: 75% Notes: My model is not listed, so I had to choose a different option. Post-Printing First, thoroughly test the fit of all parts before applying superglue. Insert the pins into their corresponding holes and ensure the two halves touch perfectly. Once you're satisfied with the fit, remove the pins and apply superglue to both pins and the flat contact area. Press the pieces together firmly until the glue sets. Finally, let the glue fully cure.
With this file you will be able to print MPCNC Cut Rigid Z Mod with your 3D printer. Click on the button and save the file on your computer to work, edit or customize your design. You can also find more 3D designs for printers on MPCNC Cut Rigid Z Mod.