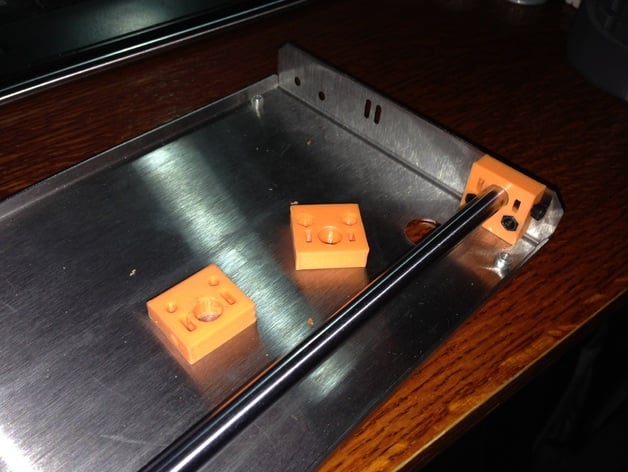
MP Mini Select Bed Rail Mounts
thingiverse
I recently got one of Paul Churnock's extension kits for my printer bed. The kit is really nicely made and works flawlessly. However, I encountered an issue with my MP Mini Select because its new-style bed rails are tapped and directly mounted to the bed using M4 screws. Paul's kits are designed to work with the original bed rail mounting brackets that came with my printer. To solve this problem, I created these brackets so I can easily attach my extended bed. To assemble the kit, you'll need: * 8 - M3 x 10 bolts * 4 - M3 x 8 bolts * 12 - M3 nuts The original MP rail mount brackets used an M# bolt that was tapped directly into the bottom of the mount. I preferred to design my version using a trapped nut that's accessible from the sides or the bed, which increases clearance under the bed frame. The brackets are designed with slots on both sides of the rails; just use the outer holes. The brackets have very tight tolerances. My first layers created an overly tight fit and needed some cleanup. Your print setup might need minor adjustments to get it right. Don't tighten everything down at once. Assemble the rails with the bolts just finger-tight, then clamp the bed down to a known flat surface. I used my table saw bed with a pair of Quick-Clamps. Then tighten everything down. If you don't, you risk warping the bed, which wouldn't be good. If you're replacing your original mounts with these brackets, replace all four to keep distances and tolerances the same.
With this file you will be able to print MP Mini Select Bed Rail Mounts with your 3D printer. Click on the button and save the file on your computer to work, edit or customize your design. You can also find more 3D designs for printers on MP Mini Select Bed Rail Mounts.
