Moving Gear Clock
thingiverse
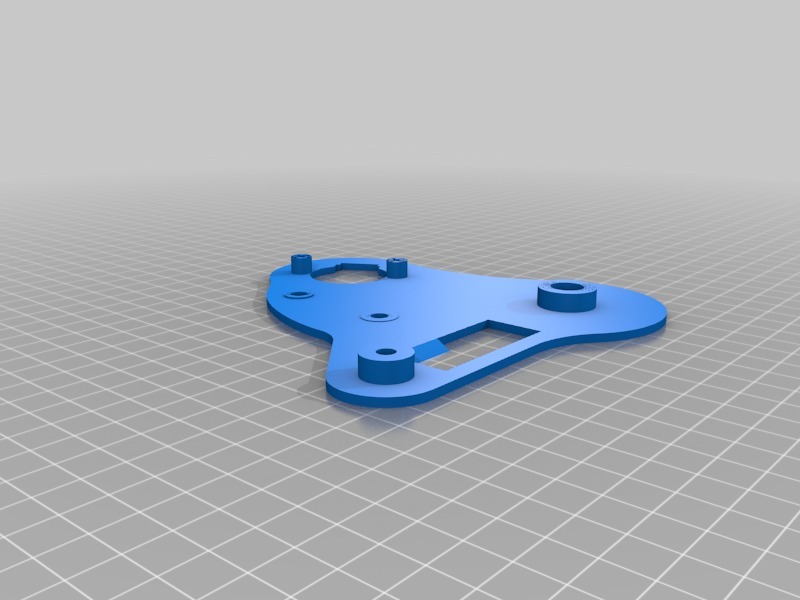
This is not a full design, but a remix with exchanged and additional parts. Please go to Teun Keusters' clock and get the other parts. When printing Teun Keusters' nice clock I stepped into problems with wobbly backplate and gears. So something had to be done to save the day. Backplate backplate_double.stl was derived from the original plate. The designe was cut so all the gear stubs have the same height. The two elongated pins for main and big gear go through both plates and stabilise it. The motor screws (~M3x30) also mount through both plates. Bearings I found matching axial bearings that require only minimal changes in the original design: For international this Chinese source seems to be the same parts: We need 2x 15x28x4 and 1x 20x35x4. The two added washer parts go on the gear stubs for main and big gear. The bearing is placed on top before mounting the gears One 15x28 bearing is placed between main_gear_middle and main_gear_top. main_gear_middle Is replaced with main_gear_middle2.STL This is modified for the 15mm inner diameter of the bearing. As I got problems with stability of the gear axle with lower fill-rates I had to modify the generation of the print code too. If you print at high infill rate you may not need this modification below.. I used Slic3r and modified the generation of the part. For this load the part direct in Slic3r and double click on it. Then the settings for the part opens. Select the part in the left top window and click on 'Load modifier' and load main_middle2a.stl. Select this modified axle part in top left window and then add parameters with the green '+' button on the left. Select infill and change it 100% to make a solid axle. Now you should let Slic3r directly generate the printer code. Sketch The attached sketch is a NTP synchronised version based on an ESP8266 board like this: You need to install JLED and AccelStepper library: Code has an (untested) option for automatic summer time switch. Enable the #define SUMMER_ADJUST for this untested option. NTP_INTERVALL can be changed to make NTP updates more or less frequent (default 1h). SEC_UPDATE will change the update frequency of the second dial (1sec default). A 5sec update is what I intend on using to save with the output disable (#define SEC_SLEEP) some current. The sketch uses the onboard LED (D0) and if you use a NodeMCU 1.0 the FLASH button (D3) is used for fast forwarding the clock. For the WEMOS D1 mini you need to add the button externally on D3 to ground. Plans are to make an easier synchronisation. Like assembling the clock at fixed 6 or 12 o'clock positions and having it automatically forwarding to the real NTP synchronised time once it's available. References Sketch is a remix of the NTP code from the light clock: Basic stepper handling is based on min-clock from Viroid I replaced stepper lib with AccelStepper lib as it runs smoother and does not block during run.. UPDATE 8.5.2019 Longer Pin for second_gear_2 to improve the guiding by using both back plates to guide the gear. UPDATE 10.5.2019 Software ClockMinuteAutoNTP.ino will no autoforward the clock. For this you need to assemble it in 6 or 12 'o'clock position. It's actually configured for MEZ and daylight saving correction. UPDATE 11.5.2019 Alternative version with less material (less warping!) for big_gear2b. Alternative main_gear_middle2b with a little recess of the gear tooth to avoid catching between edges of the gear tooth with opposite gears.
With this file you will be able to print Moving Gear Clock with your 3D printer. Click on the button and save the file on your computer to work, edit or customize your design. You can also find more 3D designs for printers on Moving Gear Clock.