MOUSEKY
prusaprinters
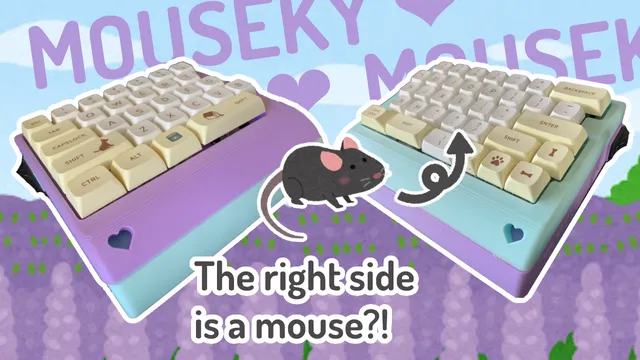
This is Mouseky, a split, wireless, 64-key masterpiece that has an integrated mouse packed with touchpad-equivalent features.❤❤❤Parts List:x65 220Ω Resistorsx64 Cherry MX Brown Keyswitchesx8 #4 x ½" Flat Head Wood Screwsx5 2u Costar Style Stabilizersx3 Arduino Pro Microsx3 nRF24L01 Radio Modulesx2 Micro USB Cablesx2 Micro USB Extender Cablesx2 Mini Portable Chargersx1 330Ω Resistorx1 Wireless Mousex1 5V Relay Module❤❤❤Instructions:Print all the pieces. When loading into the slicer, the files may appear smaller. If so, scale it up to 1000%. After printing “Receiver - Upper”, leave the print on the build plate, change the filament color, and then proceed to print “Receiver - Graphics”.Take apart the wireless mouse and cut the wires from the motherboard to the batteries.Cut off the unneeded parts from the motherboard like the scroll wheel and buttons.Make sure the on/off switch is set permanently to "On". Also make sure to keep the rectangular plastic lens and communication USB.Solder all the wirings. Follow the circuit diagram provided to solder the electronic parts together after snapping the keyswitches and stabilizers into the 3D printed frames.Cut the micro USB cables and resolder together to connect the power from the batteries to the circuits.Cut the micro USB extender cables and resolder together to create the recharging ports.Use hot glue or other adhesives to secure all parts inside the keyboard frames.Use wood screws to seal the keyboard.Similarly assemble the receiver module.❤❤❤
With this file you will be able to print MOUSEKY with your 3D printer. Click on the button and save the file on your computer to work, edit or customize your design. You can also find more 3D designs for printers on MOUSEKY.