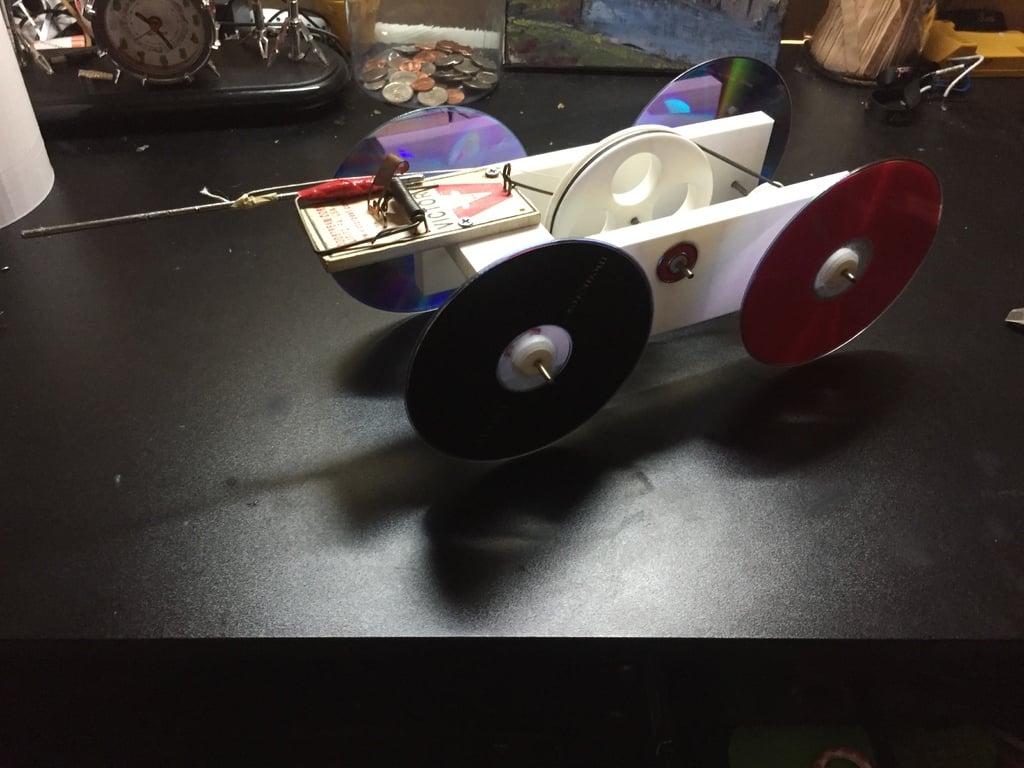
Mouse Trap Car
thingiverse
For my engineering class, we were tasked with designing a car powered solely by a mousetrap. The pulleys on our design feature a 3:1 ratio, allowing the car to travel even farther. We were put to the test in both speed and distance races, and I'm proud to say that my car emerged victorious in both events. Assembly: Once all parts are printed out, glue CD caps securely into CDs using crazy glue. Next, snap bearing caps onto bearings and then bearings onto the base. Slide pulleys onto rods and insert rods into the base. It's crucial not to forget to add a rubber band before gluing the rods in place. A small dab of crazy glue should be applied where the rods and bearing caps meet. Then, glue CDs to rods and screw the mousetrap tightly onto the base. Finally, attach the rod to the mousetrap and tie on the string accordingly, depending on whether you're building a distance car or an acceleration car. Distance: To build a distance car, tie the string securely to the top of the rod and the axle supporting the larger pulley. Acceleration: For an acceleration car, remove the rubber band and tie the string directly from the mousetrap bar to the axle of the rear wheels. To prevent the car from slipping, attach duct tape to the rear wheels. Other materials needed: * Mouse trap (self-explanatory) * 6 bearings * Rubber band * String * 3.15mm rod (available at Home Depot)
With this file you will be able to print Mouse Trap Car with your 3D printer. Click on the button and save the file on your computer to work, edit or customize your design. You can also find more 3D designs for printers on Mouse Trap Car.
