Mouse Catcher
thingiverse
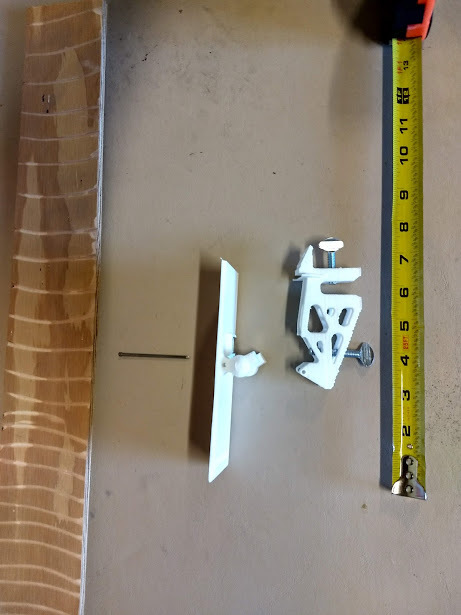
A modern reinterpretation of an 1800s mouse catcher, with impressive results as seen on MouseTrapMonday.com. The device works exceptionally well, catching mice efficiently. It's worth noting that similar working models are showcased on the website. Printing both parts will take approximately 10 hours and requires two 1/4-20 thumb screws and a finishing nail. For more details, see below. The bottom thumb screw adjusts the tilt weight and trip point of the magnet latch. To test the device, I used a 3D desiccant bag packed inside the reels, weighing about 12 grams. Setup Instructions: Move the bottom thumb screw upwards until it touches the diving board magnet. Place the dummy on the end of the diving board and loosen the adjuster until it trips. Position the assembly on a bucket and tighten the side clamp. Create a ramp using wood or folded cardboard and secure it to the unit. For bait, peanut butter is highly effective. Share your stories about the environment where you set up the device and its catch rate. For example, one user caught four mice in their small horse barn within a single night, while another captured ten mice in their tool shed over the course of a month.
With this file you will be able to print Mouse Catcher with your 3D printer. Click on the button and save the file on your computer to work, edit or customize your design. You can also find more 3D designs for printers on Mouse Catcher.
