Mount for TC Electronic Pilot C/X
prusaprinters
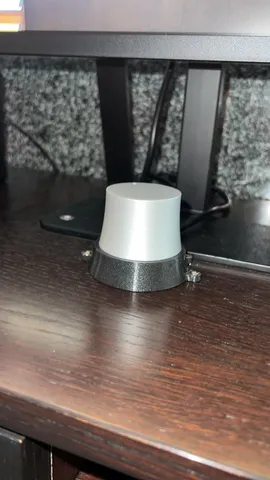
At work, an analog volume controller had to be securely mounted to the table. I opted for the TC Electronic Pilot C (insert link here) for this purpose. However, since I couldn't find a suitable bracket, I drew my own. The bracket will be 3D printed as shown in the image. Next, the upper part of the volume controller is pulled straight upward (this requires some force, but it won't damage anything). In the following step, the bracket is placed over the lower part of the volume controller and securely fastened in the corresponding position using 3x16 mm countersunk screws. After that, the knob is reattached to the potentiometer, making sure it is aligned as desired. If the part is cleanly printed and the knob is properly seated, there should be no (or very little) friction to feel.With this bracket, the volume controller can also be mounted on the wall. Additionally, the bracket should be suitable for the TC Electronic Pilot X (with XLR connectors instead of TRS), as the two models are identical in construction.
With this file you will be able to print Mount for TC Electronic Pilot C/X with your 3D printer. Click on the button and save the file on your computer to work, edit or customize your design. You can also find more 3D designs for printers on Mount for TC Electronic Pilot C/X.