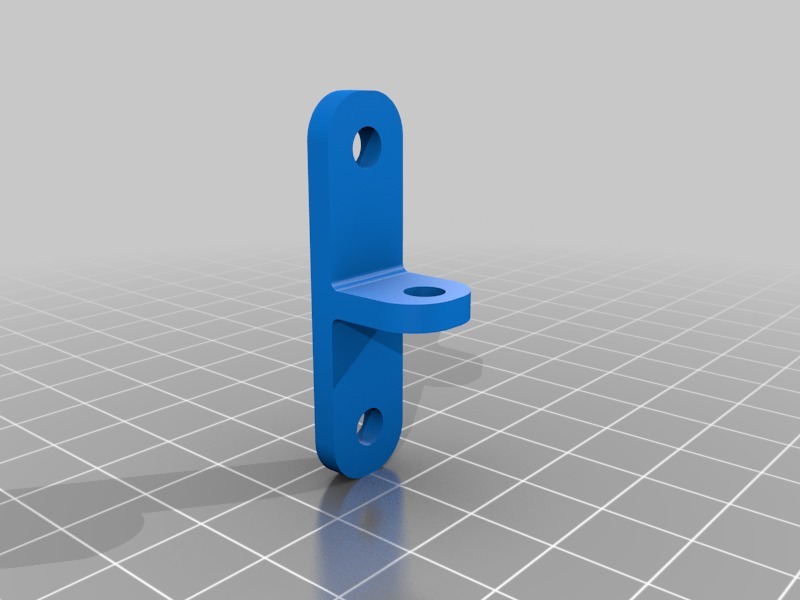
Mount for dashcam backup camera with pad for hook and loop
prusaprinters
<p>I got a cheap dashcam from China that came with a remote backup camera. In my case, I didn't want to mount on the back bumper, but on the interior of my truck. I designed this simple bracket and mount to do the job. The bracket is matched to this generic remote camera, and may need to be modified to suit your equipment. The mounting arm will allow the camera to be pointed in a good variety directions. This might work for printer camera mounts as well. The holes are sized for M4 hardware, although I used M3 to attach the camera as I am short on short M4 screws. Use heavy duty hook and loop to attach, or use a good double stick mounting tape, or work out your own way to stick it to stuff. The pad is 40mm square.</p> <h3>Print Settings</h3> <p><strong>Rafts:</strong></p> <p>No</p> <p class="detail-setting supports"><strong>Supports: </strong> <div><p>Yes</p></div> <p><strong>Resolution:</strong></p> <p>.2</p> <p class="detail-setting infill"><strong>Infill: </strong> <div><p>60%</p></div> <p><strong>Notes:</strong></p> <p>You might need to adjust the orientation of the mount on your printer for the best support of the arm. It can be done without support, but looks better if you use it.</p> <h3>Post-Printing</h3> <p>Attach the camera as shown and use an M4 screw about 15 - 18 mm to fix the joint. The hex nut is a tight fit, so smoosh it in with pliers!</p> <h3>How I Designed This</h3> <p>Rather haphazardly using the always reliable TLAR method.</p> </p></p> Category: Automotive
With this file you will be able to print Mount for dashcam backup camera with pad for hook and loop with your 3D printer. Click on the button and save the file on your computer to work, edit or customize your design. You can also find more 3D designs for printers on Mount for dashcam backup camera with pad for hook and loop.
