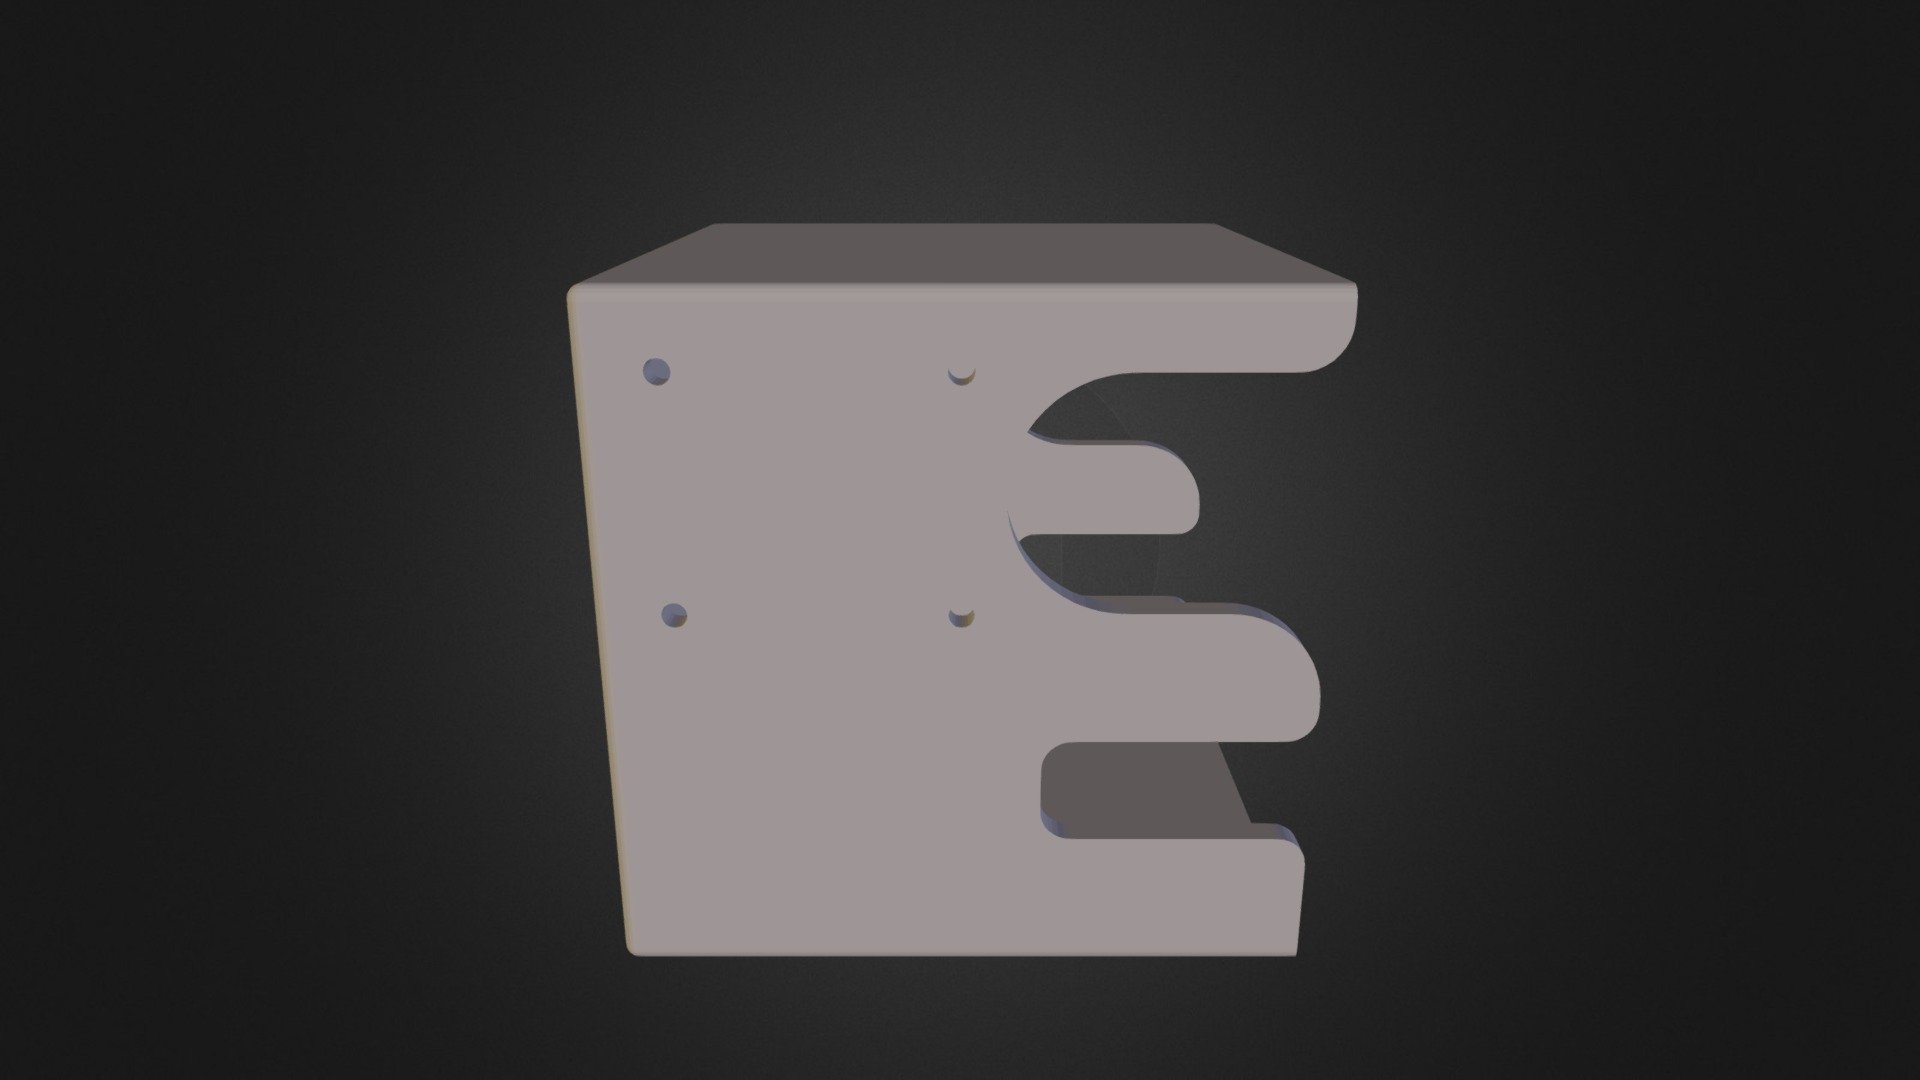
Mount 01
sketchfab
Mounting the DMP RS-1270 is a straightforward process that requires some basic knowledge of computer hardware and electronics. First, ensure that you have all the necessary tools and components ready before starting the installation. Begin by locating the mounting bracket on the back of the motherboard. It's usually marked with a label or icon indicating where to attach the DMP RS-1270. Take note of any screws or clips holding it in place, as they may need to be removed later. Next, take the DMP RS-1270 and position it over the mounting bracket. Align the pins on the board with the corresponding holes on the bracket. Gently press down on the board until it clicks into place. Secure the board by tightening the screws or clips you removed earlier. Make sure they're snug but not overtightened, as this can damage the components inside. Now that the DMP RS-1270 is mounted, connect any necessary cables to the motherboard and power supply. Follow the manufacturer's instructions for specific cable connections and requirements. Finally, plug in the power cord and turn on your computer. The system should now recognize the DMP RS-1270 and allow you to access its features through the BIOS or operating system settings.
With this file you will be able to print Mount 01 with your 3D printer. Click on the button and save the file on your computer to work, edit or customize your design. You can also find more 3D designs for printers on Mount 01.
