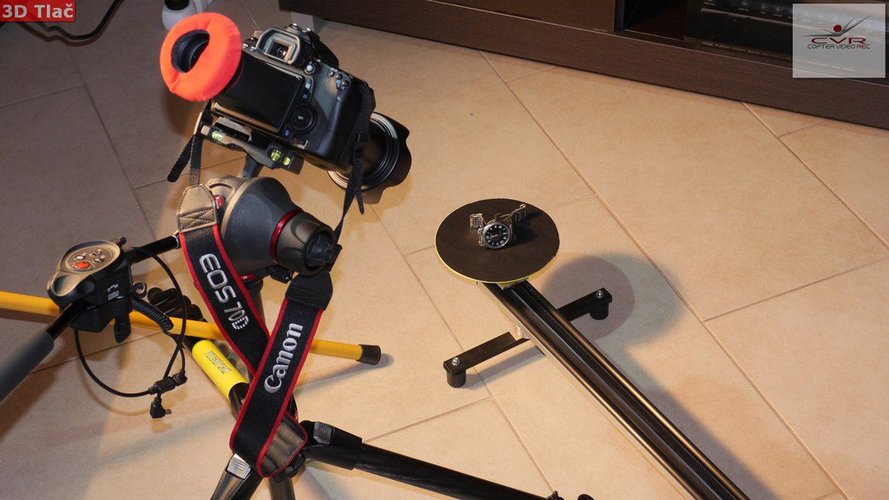
Motorized Slider Upgrade- (rotary table)
pinshape
I Built a Motorized Rotary Table to Upgrade My Homemade Slider, and It's a Game Changer. Here's How I Did It. The first thing you'll need is a sturdy base for your motorized rotary table. I chose a piece of 1/4 inch thick aluminum for this purpose, but you can use any material that provides sufficient stability. Cut the aluminum into a square shape with four equal sides and smooth out any rough edges with sandpaper. Next, attach the motor to the base using a screw or bolt. Make sure it's securely fastened so that it won't move around while in use. I used a small DC motor for this project, but you can use any type of motor that fits your needs. Now, let's talk about the rotary table itself. You'll need a rotating disc with a 6mm hole in the center to hold your slider in place. I made mine out of HIPS plastic, which is durable and easy to work with. If you prefer ABS plastic, go for it! Just make sure to use green ABS so that it stands out against the yellow HIPS. The video below shows my motorized rotary table in action: https://vimeo.com/137895433
With this file you will be able to print Motorized Slider Upgrade- (rotary table) with your 3D printer. Click on the button and save the file on your computer to work, edit or customize your design. You can also find more 3D designs for printers on Motorized Slider Upgrade- (rotary table).
