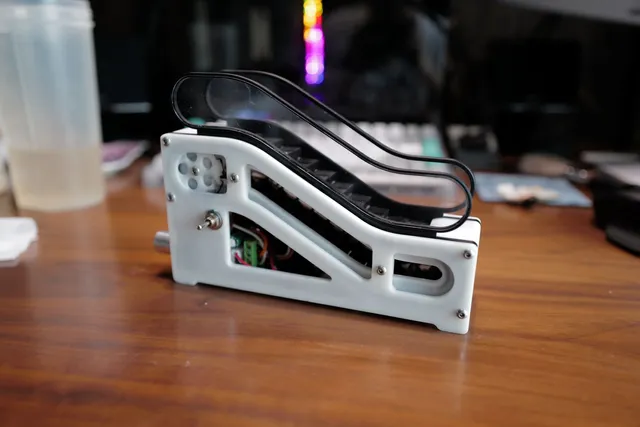
Motorized Mini Escalator Speed Control version
prusaprinters
The Escalator design is such great. Thanks to AlexY!!!!!!! Remix update!!So i printed it with my SLA machine.Find out its so difficult to assemble. Easy Way to AssembleIn my opinion, the right way to assemble the escalator is forget about the electric part.no.1 handrail mid guide + 32*steps +drive side sprocket +track guide +outer guideno.2 disassemble the one side and add the track guide in.(if possible add some lubricant)no.3 do the same on another side.no.4 add the electric part. Add Speed Control SystemI add the 5V-36V PWM control board with forward and reverse switch. But this board only working in 5v.(tested)https://detail.tmall.com/item.htm?id=644650177551&spm=a1z09.2.0.0.3a132e8dqAzJkJ&_u=s1ti3vh41c1Change to DPDT 3-position On-Off-On toggle switch Add a new charging board can charge the 18650 battery,Also can output 5V.https://detail.tmall.com/item.htm?id=649847206720&spm=a1z09.2.0.0.6ce72e8dqAMdnc&_u=s1ti3vhc1cdRedesign the bottom cover, both side outer guide.Add Acrylic side panel Redesign the handrail mid guide that can fit the 1mm Acrylic side panel
With this file you will be able to print Motorized Mini Escalator Speed Control version with your 3D printer. Click on the button and save the file on your computer to work, edit or customize your design. You can also find more 3D designs for printers on Motorized Mini Escalator Speed Control version.
