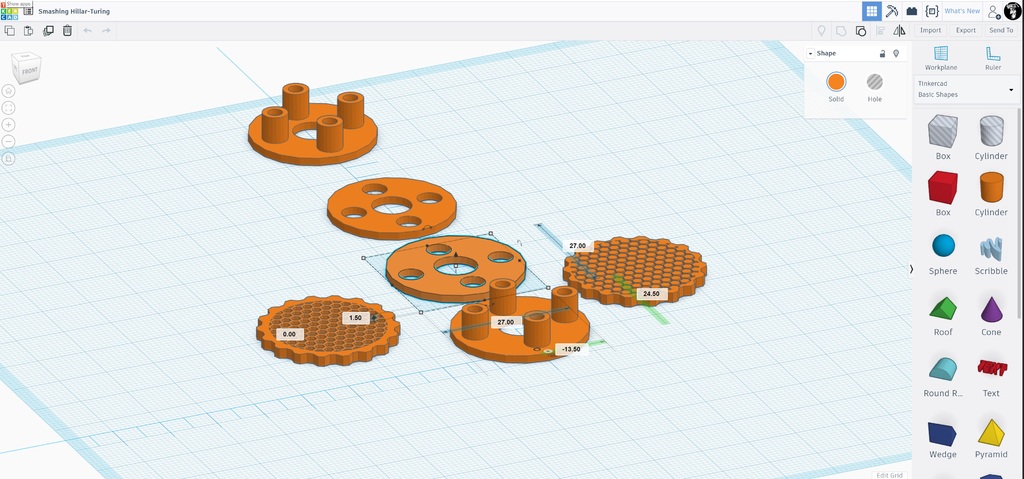
Motor vibration Isolators (soft mount)
thingiverse
Those are 100% motor-to-frame isolators. To install them, you need to drill out the original motor mounting holes in the frame, up to 5mm deep. Next, adjust your slicer's settings to scale the Z-axis proportionally according to the frame's thickness. Make sure the insert tube is at least 1mm higher than the frame thickness so it can withstand some mounting compression. Use long M3 screws that are specifically designed for this purpose and avoid overtightening them. In most cases, thread lock isn't necessary because the TPU acts like a locking nut. You can use top and bottom parts together with skid pads for added stability. To fit the motor, you only need to print the insert part. On some motors, you may be able to reverse this part depending on the size of the contact surface between the motor's bottom and the frame. Print the isolators with 25% concentric infill and no top layer to minimize contact area. This experimental setup can greatly reduce wear and tear on your printer's components.
With this file you will be able to print Motor vibration Isolators (soft mount) with your 3D printer. Click on the button and save the file on your computer to work, edit or customize your design. You can also find more 3D designs for printers on Motor vibration Isolators (soft mount).
