Motor levelling mounts for Banggood Falcon 250/Pro
thingiverse
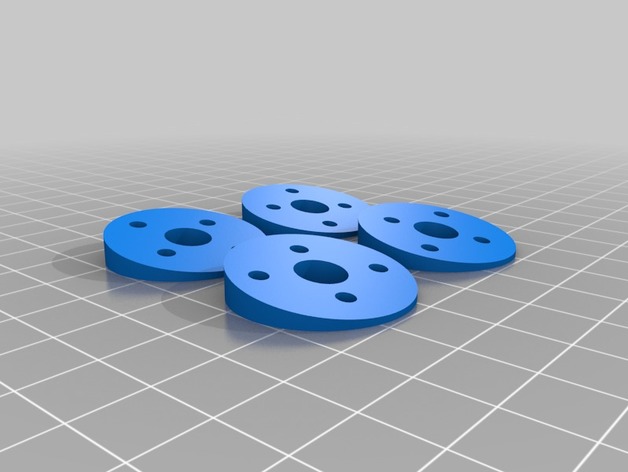
These levelling shims screw directly between the motor and existing Falcon 250 motor mount, allowing you to retain the transparent mount and LEDs underneath. All you will need are spare M3 screws of varying lengths (6/8/10mm). Make sure the screws do not penetrate the motor too far. Once this is done, recalibrate the accelerometer for level flight. You can find tutorials online to help with this process. If you don't recalculate and try flying in beginner mode, the quadcopter will not fly level for you. It's crucial that the screws are tight or have Loctite applied to prevent them from loosening. One of my motors came loose and flew off into the distance, resulting in a loss of control during flight. To avoid this issue, ensure that the screws are secure. Update: I removed these shims to reposition the motors at 10-degree angles, then recalibrated the accelerometer while the quadcopter was on a 10-degree incline with horizontal props. This setup works well and allows for smooth hovering and aerobatic maneuvers in the air.
With this file you will be able to print Motor levelling mounts for Banggood Falcon 250/Pro with your 3D printer. Click on the button and save the file on your computer to work, edit or customize your design. You can also find more 3D designs for printers on Motor levelling mounts for Banggood Falcon 250/Pro.