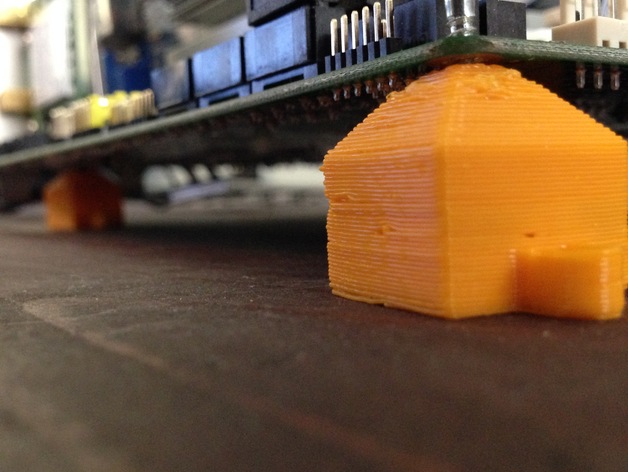
Motherboard Mounts
thingiverse
You gotta pop your CPU onto the CPU socket on your motherboard! Just place it right on there, make sure it clicks, then you're golden. Your next move is attaching your memory. Yeah, we are talking RAM here! Make sure those little sticks fit snugly into their corresponding slots and press down till they click. The sound is music to our ears! You've successfully mounted the foundation of your beast, it's time to add the other hardware: GPUs, NICs, the storage device, or SATA SSD. Place each piece in its designated slot then securely attach with screws when necessary. It really isn't that difficult once you get the hang of it. With these essentials installed, proceed with connecting everything using jumper cables and secure the motherboard with standoffs for your computer case mounting system to be installed smoothly, then simply slide it all into position inside your PC enclosure
With this file you will be able to print Motherboard Mounts with your 3D printer. Click on the button and save the file on your computer to work, edit or customize your design. You can also find more 3D designs for printers on Motherboard Mounts.